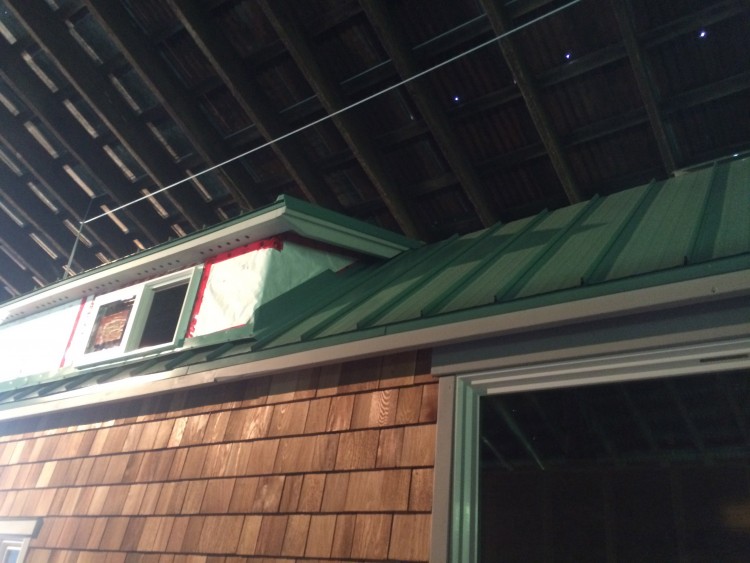
Tiny House Construction – Weeks 25-26

Tiny House Construction – Weeks 25-26
Watch a time lapse to see what I have been up to: Time to put a roof on this house. Just taking delivery of the roofing metal seemed like a victory, but there was much more work to be done. It happened to be the hottest time of the year here while I was working on this. Under the metal roof of the barn with the sun beaming down on it, I was working on my metal roof, with spotlights also beaming. I have never sweated so much in my life. At least I got to test it’s waterproofness.
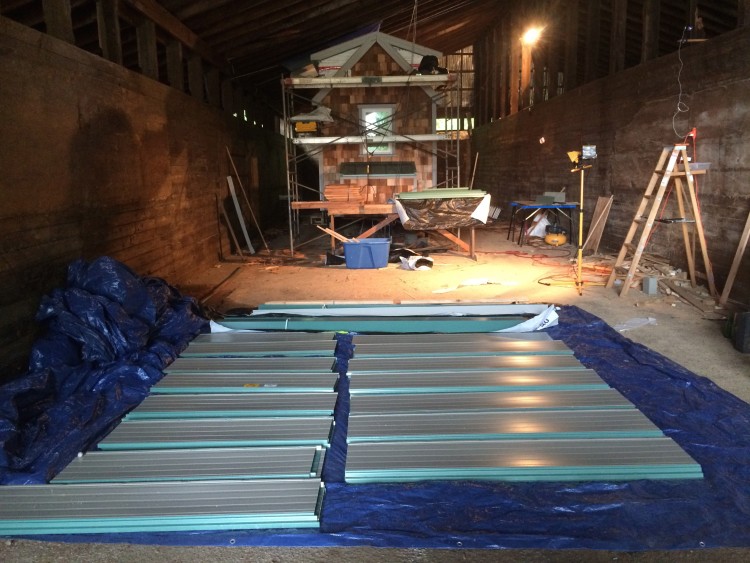
Getting the panels laid out
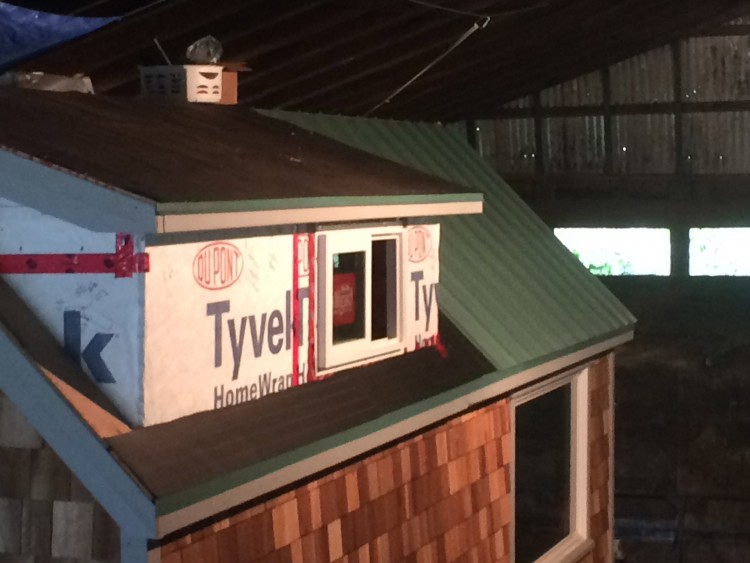
Getting the panels laid out

Before I could lay the panels on the roof (standing seam, which have ridges that clip in to one another) I had to attach the eave trim and lay the roofing felt to get the surface ready. With yet more help from Brady (thanks buddy!), we started to attach the long panels on the 12:12 pitch, which would have been very tricky to do alone. Once clipped in to place, they must be screwed on to the roof. Getting the panels perfectly straight was a challenge, and while perfection was not achieved, I think we did a pretty good job.
Starting to get the panels on

Starting to get the panels on

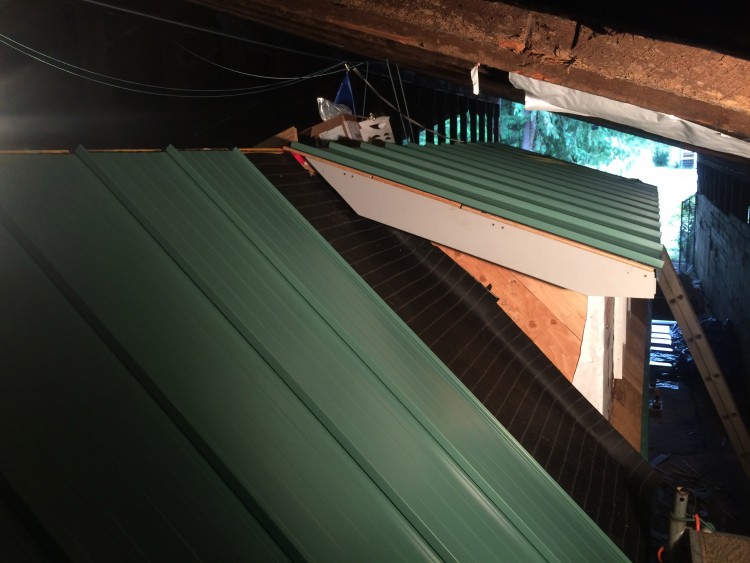
Back to working alone I focused on laying all of the full panels on to the roof, saving the trickier panels to be custom cut for another day. Getting the panels on the loft roof The following photo shows a panel that had some interesting cuts in it so it could fit around the dormer and up under the roof overhang.
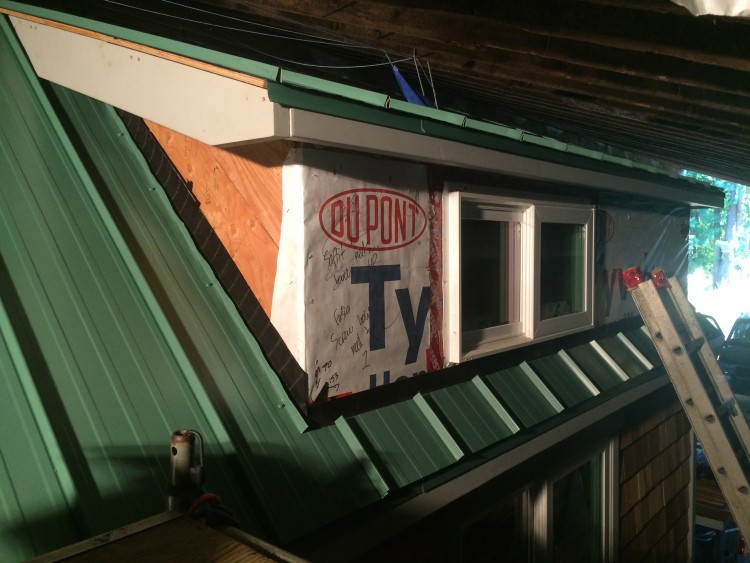
IMG_5111

Getting the panels on the loft roof

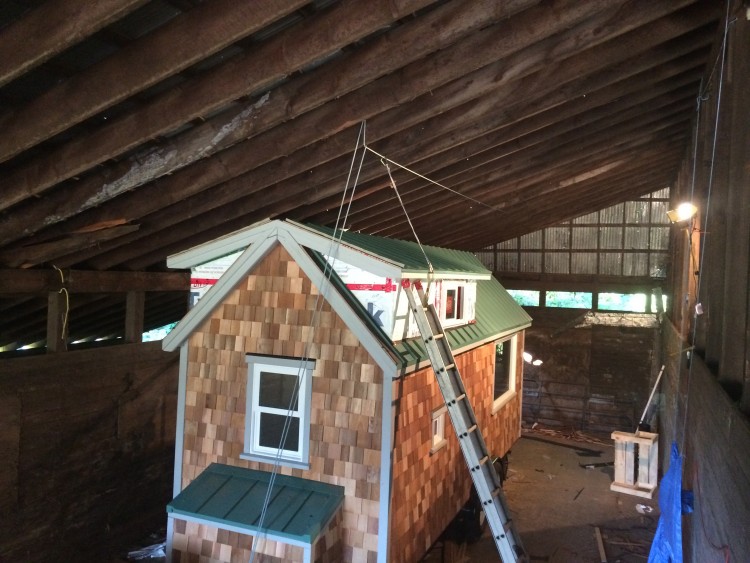
With all of the panels in place, the roof really started to take shape, but that was the easy part, next up was adding all of the flashing to make everything watertight.
Roof coming together

Roof coming together

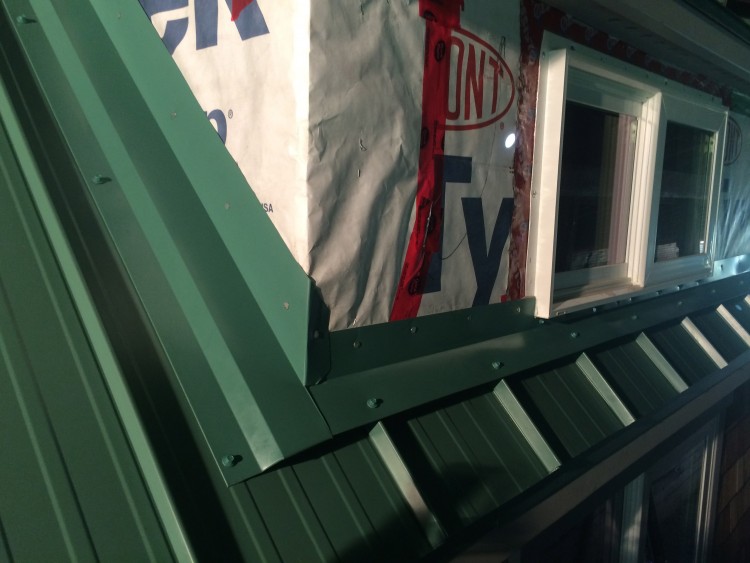
The photo below shows both end-wall flashing and side-wall flashing and where they meet at the corner of the dormer wall. Thank you YouTube for your help with this one! One of the trickier flashing details
IMG_5124

Some of the trickier flashing details
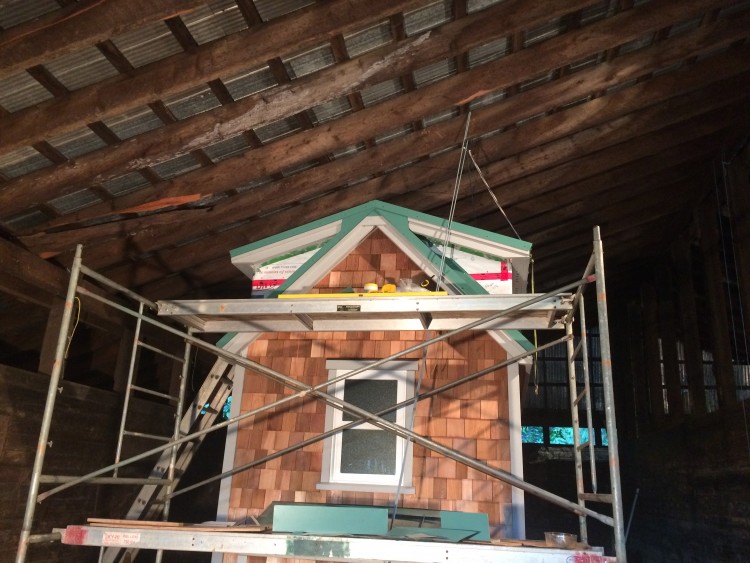
The most difficult part of the house so far has definitely been the end section where the two roof pitches meet (why oh why didn’t I build a house with a simple shed roof as my first roof?!) Attaching the gable flashing (that seals up the sides of the panels at the edge of the roof) here was very tricky because cutting the metal to fit around the wooden roof fascia would introduce gaps for water to get in. Luckily I picked Paul’s brain and he suggested cutting through the fascia and adding three metal plates to offer extra protection. Unsure at first, but this approach really worked out. I’m also really happy with how it looks.
I lost some sleep over thinking about this one!
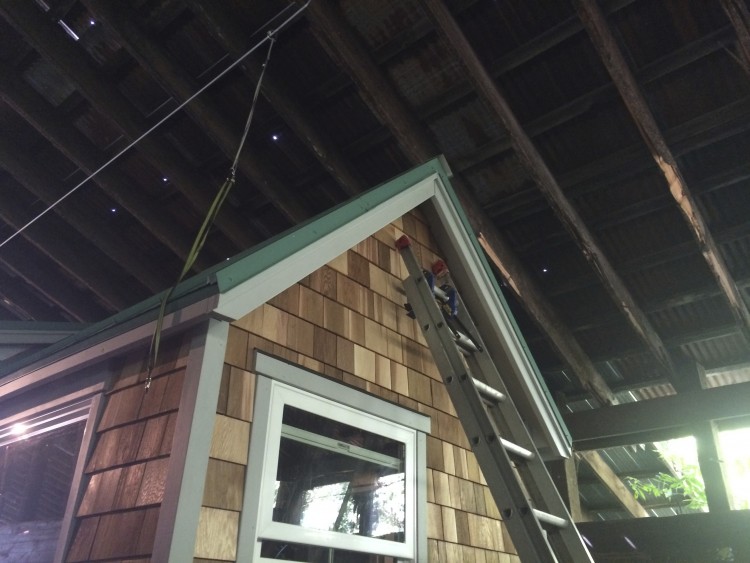
I lost some sleep over thinking about this one!

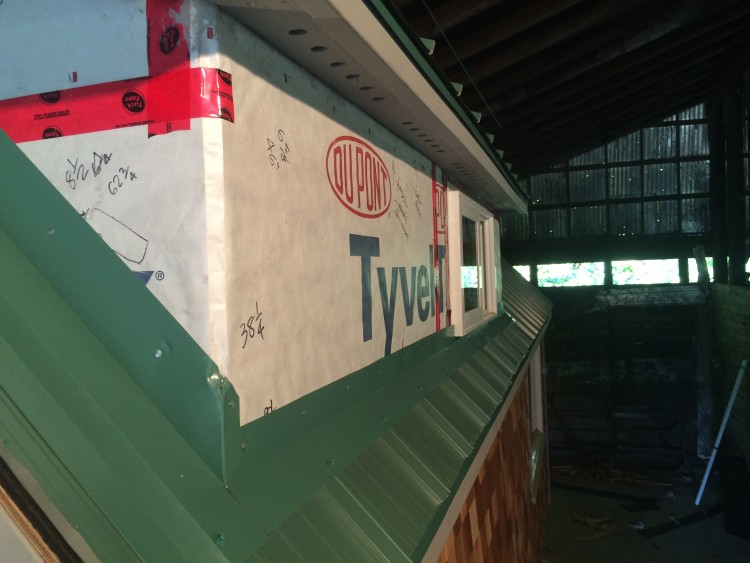
For comparison, at the other end of the house the gable flashing was nice and easy.
Gable flashing installed

Gable flashing installed

The only piece of the roof that remains is the ridge cap. I knew I was going to make a mistake with such a large, detailed roof order, and I ended up ordering a ridge cap that was a little too small. This meant I had to re-order them, so while I wait for that, on with other jobs.

2 thoughts on "Tiny House Construction – Weeks 25-26"

  1. mum says:

    Looking very house like.

  2. MOG says:

    Still looking good.

    Just remember – every OOPS! with this build; is one that you won’t make again. 🙂