It’s been a while. I have been working hard though. Watch a time lapse to see what I have been up to:
I had been working on the fascia boards on-and-off for a while now. Once I finished cutting them to size and got them test fitted, I then had to remove all of the boards in order to sand them down, especially the rough cut ends.
Before installing the boards for real, we had to decide on what we actually want to house to look like on the outside. This is something I have been thinking about since day one, but now was decision time. After having spent months looking at houses in my area I knew I wanted cedar shingles to be part of my siding, but I wasn’t sure If I wanted them to fully of just partially cover the house. Seeing as I had never considered not using shingles, and didn’t know what else I would use to compliment them, in the end I decided to just cover the entire house with them. With Carly’s help, we took a trip to the builder’s merchants to compare paint/stain colours and metal roofing colours. I then mocked up our favourite colours in my SketchUp model to try them out. After a few attempts, we decided on the following exterior for the house
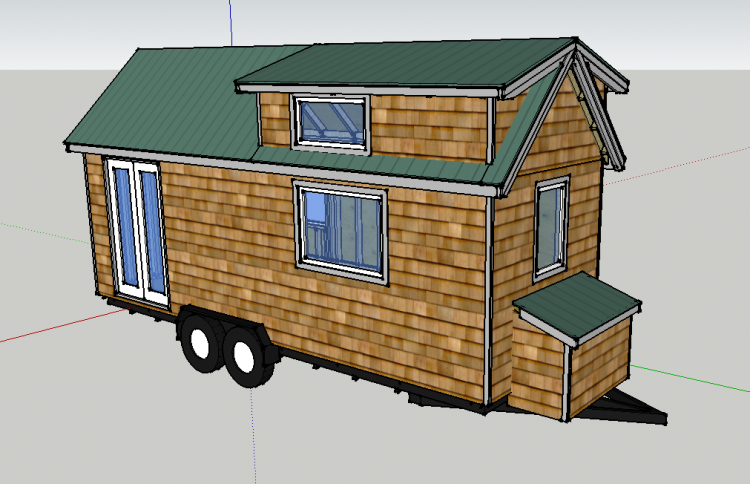
Decision made, now lets get on with it!
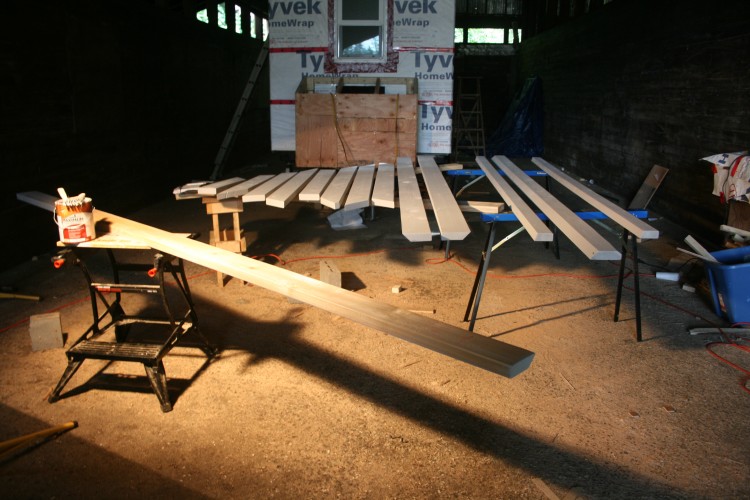
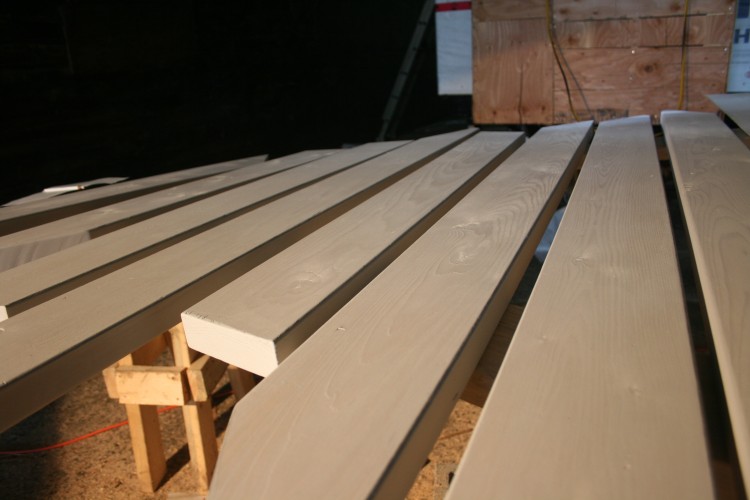
Stained fascia boards. I am really happy that the stain allows the grain to show through
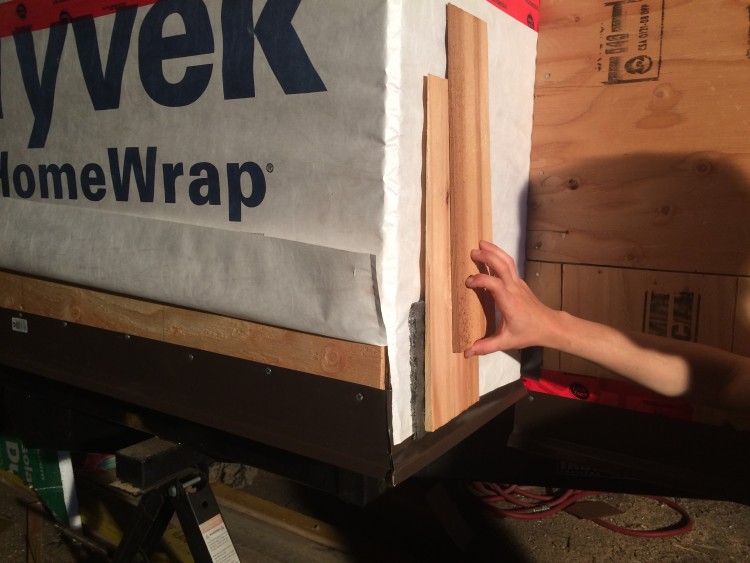
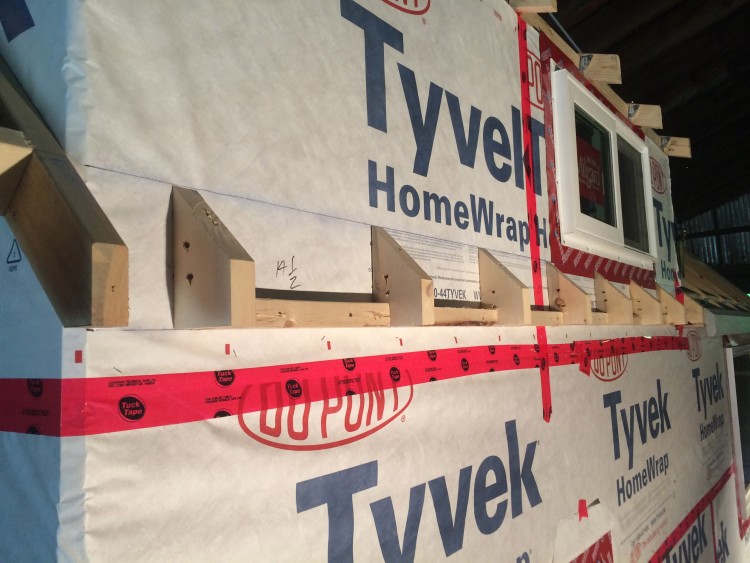
A mock-up of the house exterior: drip edge, house wrap, mesh rain screen and shingles
 In the end I opted to make the soffits out of plywood with holes drilled out for the vents. Making these and making them look reasonably attractive was a learning process. After a lot of trail and error, and some frustrating times I eventually found a system for making the soffits which produced clean-cut holes in the plywood (not an easy thing to do), were easy to install and easy to stain. Unfortunately as I was figuring this out as I went, it wasn’t until I was nearly done that I became actually good at making them. This meant that when I finished, all I could see was the flaws in my earlier attempts, which were now installed on the house.
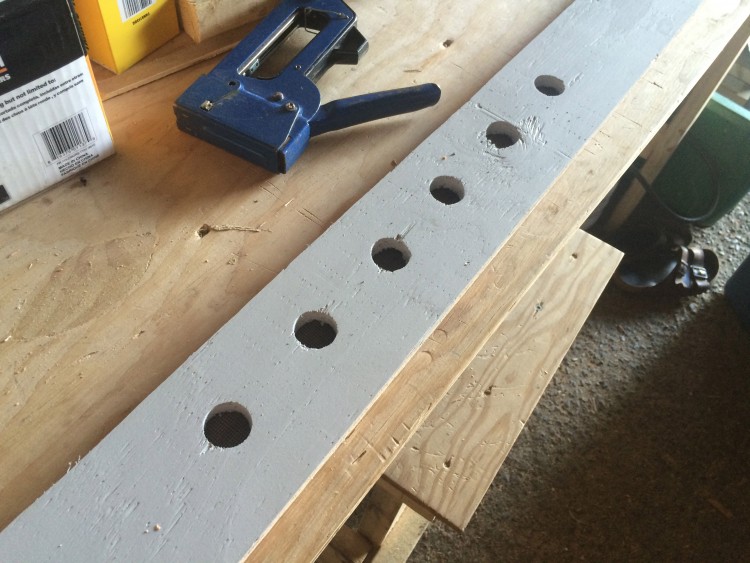
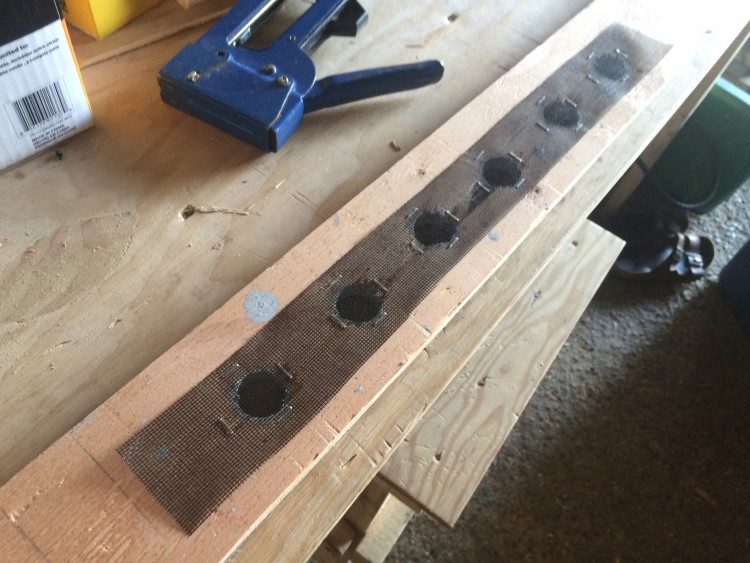
Making the soffits
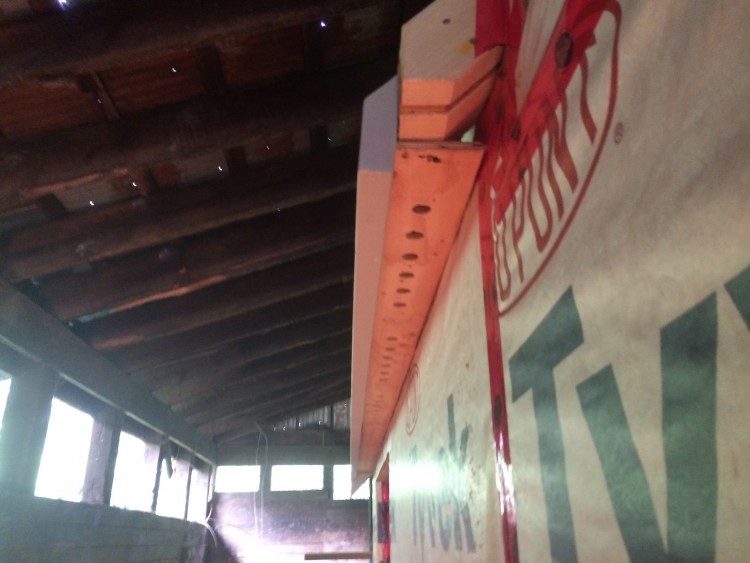
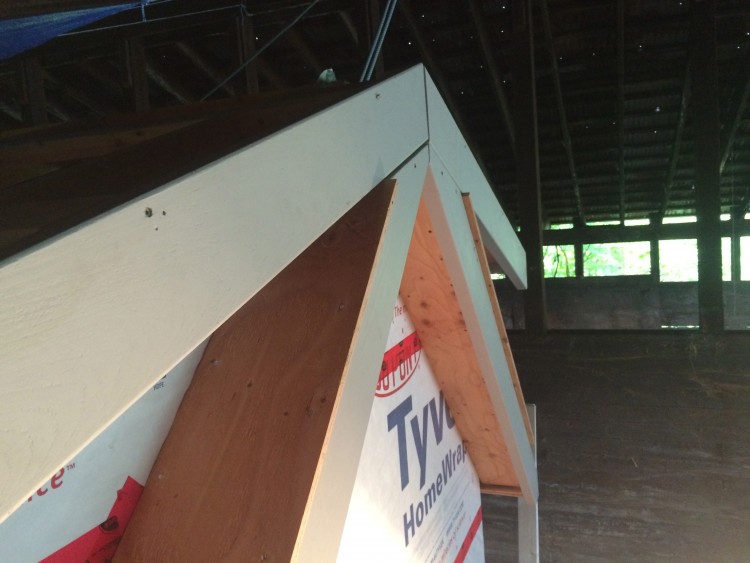
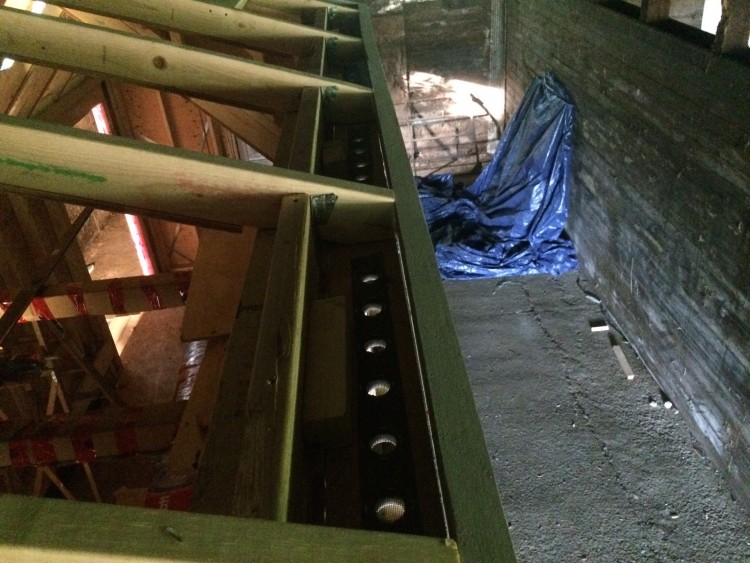
Soffits soffits soffits
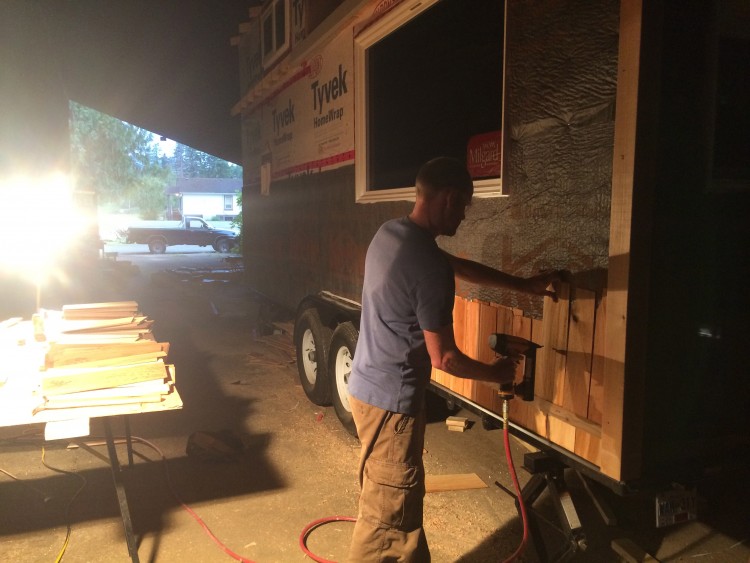
Getting some professional help
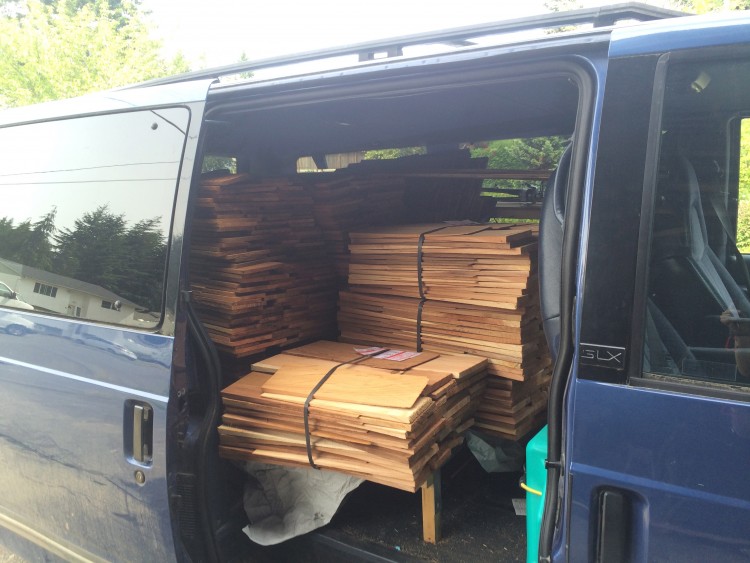
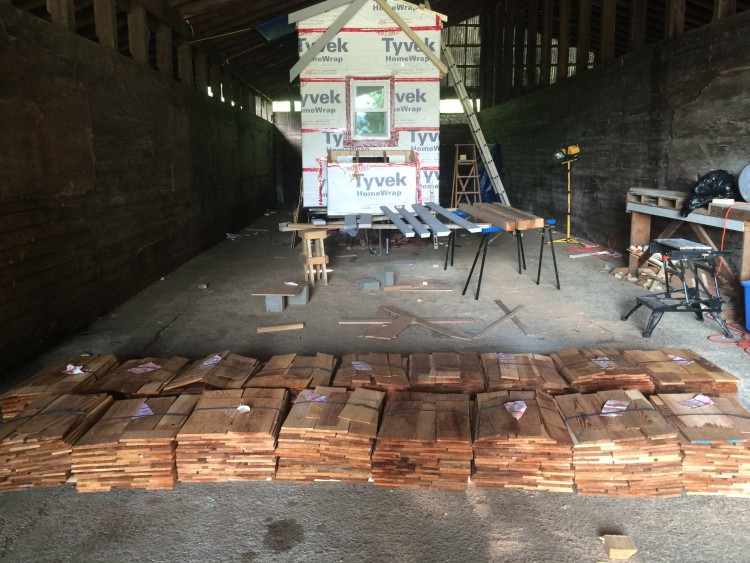
Shingles: tick!
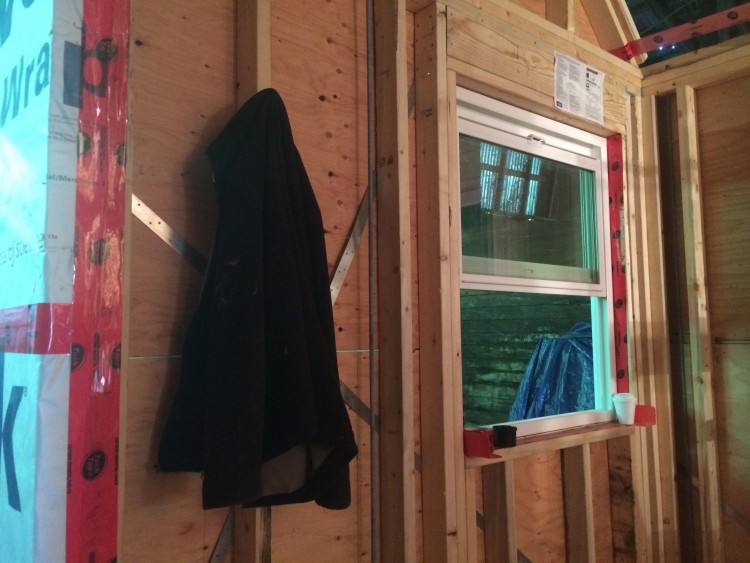
My first piece of interior design – a coat hook
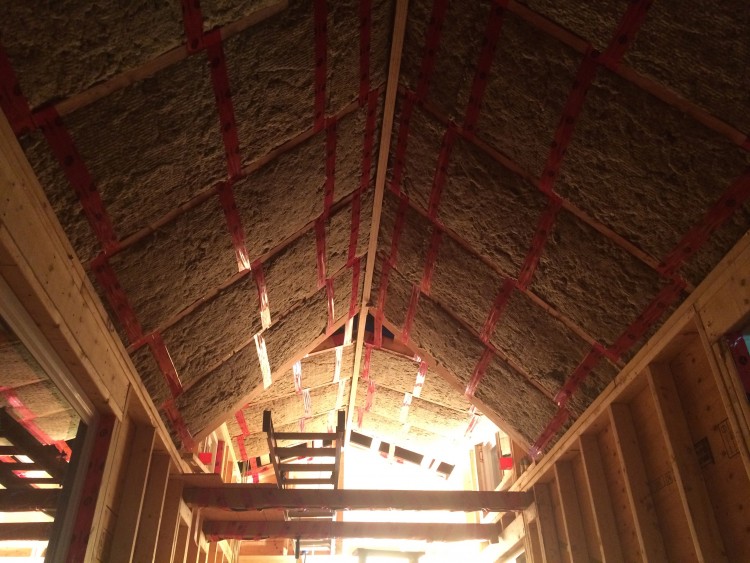
Roof insulation getting installed
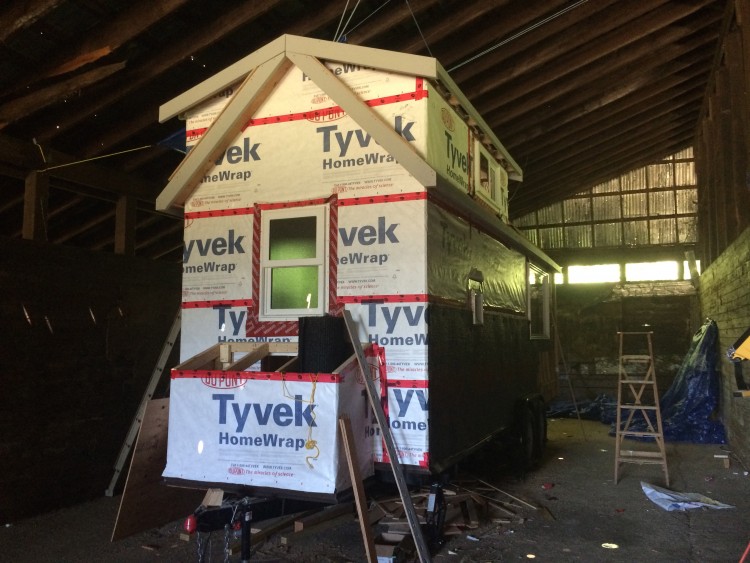


 In the end I opted to make the soffits out of plywood with holes drilled out for the vents. Making these and making them look reasonably attractive was a learning process. After a lot of trail and error, and some frustrating times I eventually found a system for making the soffits which produced clean-cut holes in the plywood (not an easy thing to do), were easy to install and easy to stain. Unfortunately as I was figuring this out as I went, it wasn’t until I was nearly done that I became actually good at making them. This meant that when I finished, all I could see was the flaws in my earlier attempts, which were now installed on the house.


I really like the effect of the shingles. So glad you are getting help. Do hope you will get a boost to your confidence soon. Grandma’
Good to see you’e got a bit more help.
As you say, it’s really starting to look like a home.