Tiny House Construction – Week 7
Posted on 15/03/2016 under My Tiny House Project
Day 31
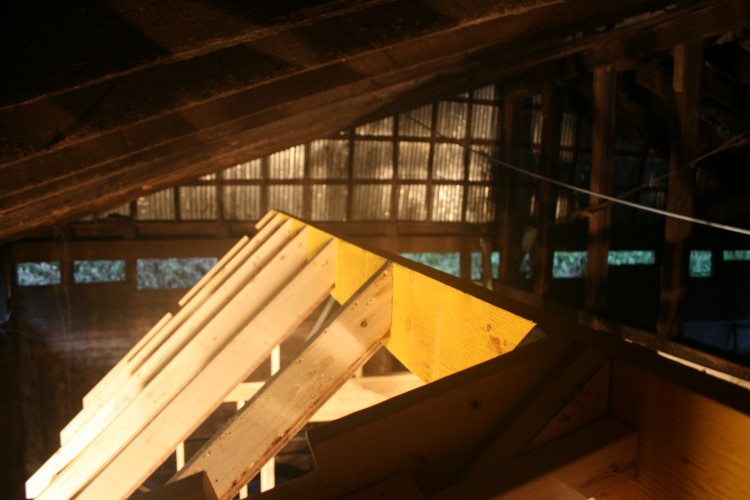
Today was very much a production line. I needed to make lots of rafters, so instead of making them one-by-one I decided to apply one step to each rafter at a time. This way I was doing one job over and over and didn’t have to change my setup. To build each 45 degree rafter I cut them to length at a 45 degree angle then cut out the ‘birds mouth’ (a notch cut out of the rafter where it sits on the wall). I then added 1/2 inch ply to bottom of rafter. Once the insulation is added this will create a 1/2 inch air gap between the insulation and the roof sheathing to allow air to circulate in the roof. Once all of the rafters where made I fitted one pair and was extremely pleased with how they sat agaist the ridge beam. Maybe I am getting this angles thing after all!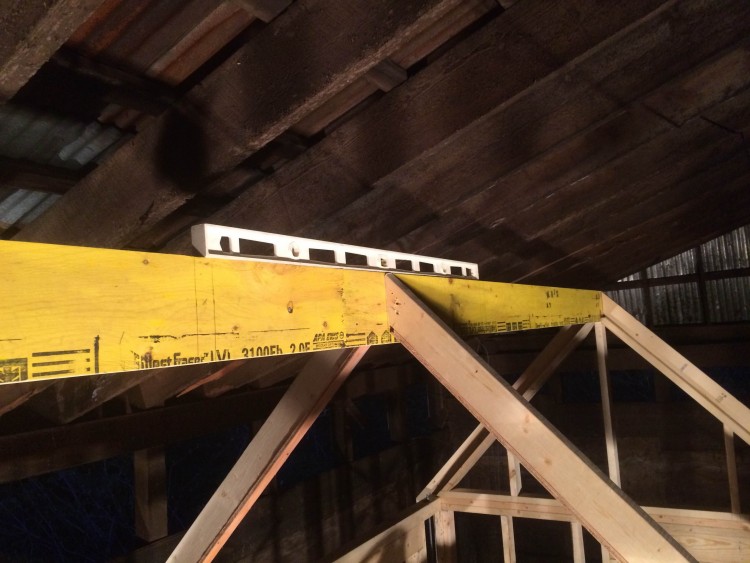
Looking good. Better stop there.
Day 32
Time to start putting up all of these rafters I made yesterday! It came along surprisingly well so with all of the 45 degree angle rafters now in place, it was time to start making the rafters for the second pitch… all 18.4 degrees of it.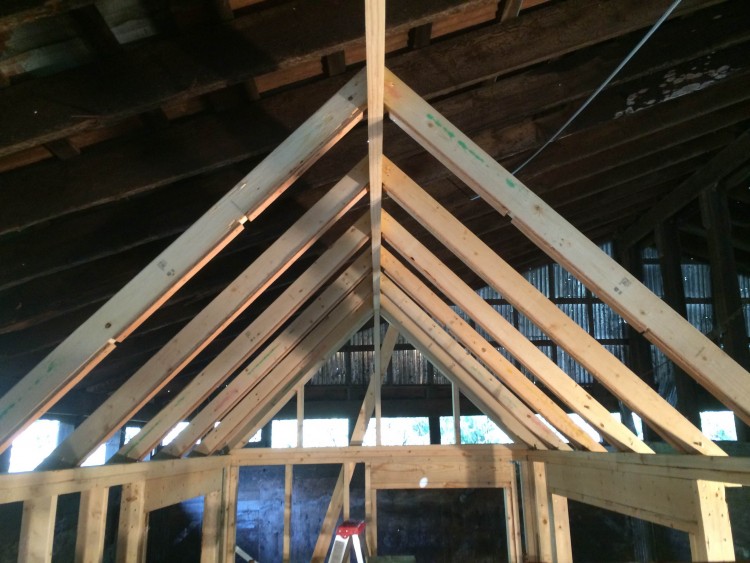
The 45 degree rafters in place
Day 33
Today I went back to the production line and made all of the remaining 18.4 degree rafters.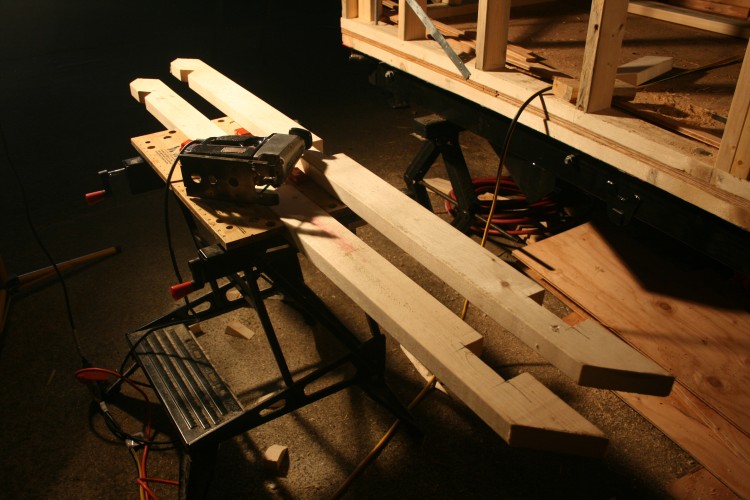
Rafters. The rectangular cutouts are to accommodate ‘lookouts’ which will support the roof overhang
Day 34
I was on target to get the last of the rafters installed today, but I broke the only jigsaw blade I have cutting some tricker bits out of the rafters so I decided to start ticking off a few of the smaller jobs I have stacking up instead. This took the form of adding the last of the strapping to the two end walls.Day 35
Today I finished the end-wall rafters and build the second loft wall where the two roof pitches meet.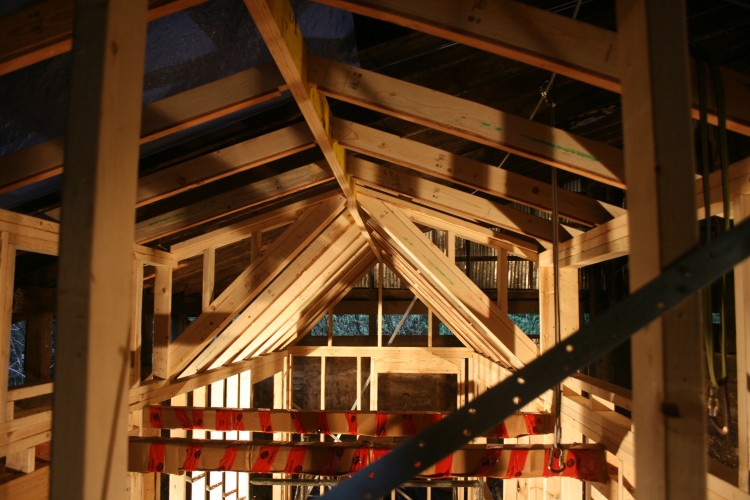
Rafters and loft wall complete.
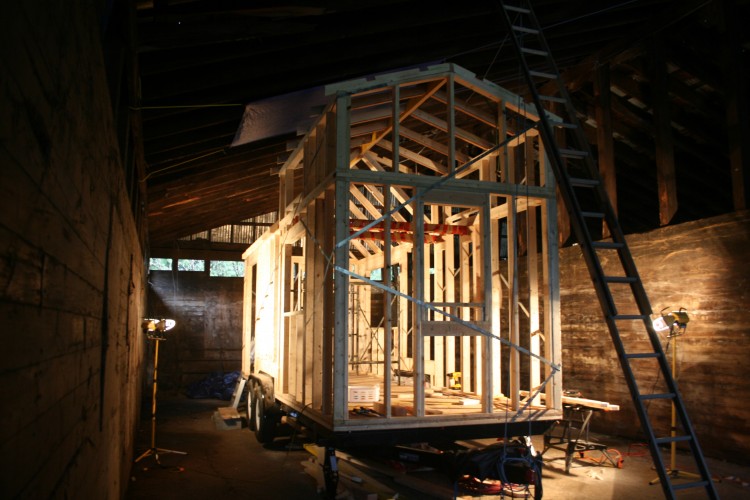
It’s starting to look like a house
Time for another couple of days off. I have a few small tasks to complete before starting sheathing next week. I also have lots of things to research, figure out and make decisions on. So plenty to keep me busy.

Well done. So much better than a flat roof. love, Grandma’
I knew I’d come across 18.4 degrees before – it’s what you get from a 1 in 3 slope.
I think the way you used is fine, but if you couldn’t mark it up, then you could have made a 1:3 triangle with your tape measure.
Love from your know it all dad. 🙂
We shall see when it comes to attaching the roofing!
Joe
Good to see you’ve mastered real-life geometry. 😉
Now how about a fold-up geodesic dome to cover everything up during those winter months?
You seem to be getting on really well,i am proud of my boy,we are looking forward to seeing you both latter on in the year.love mum xxx