Tiny House Construction – Week 6
Posted on 08/03/2016 under My Tiny House Project
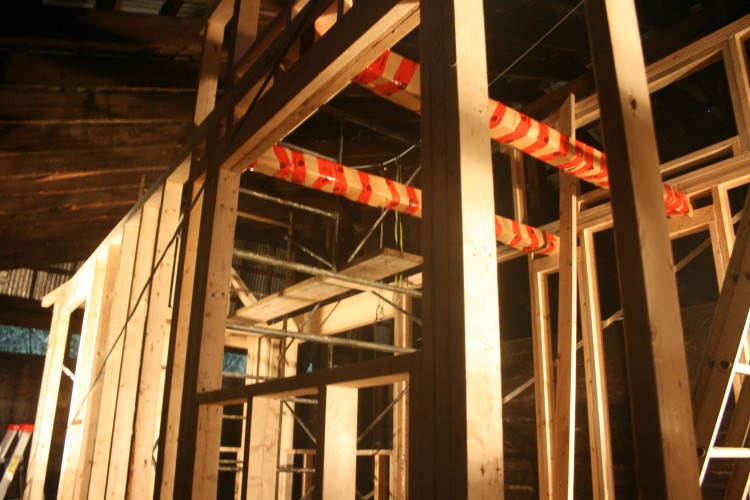
Day 24
I started the day with a couple of small jobs: cutting the threaded rod to length and nailing down the loft rafters. I then started cutting the wood to frame the two upper end walls.Day 25
Today I continued to cut and nail together the two upper end walls, which are the last of the exterior end walls. These two walls contain the first non-90 degree angles in the house, which made nailing them together just that bit tricker. It’s times like these that a second pair of hands for five minutes would be a huge advantage.Day 26
Richard came and gave me a hand today, and we absolutely hit it out of the park! Before he arrived I finished nailing the last upper end wall and got one up into place. With his help we got the second up and nailed in.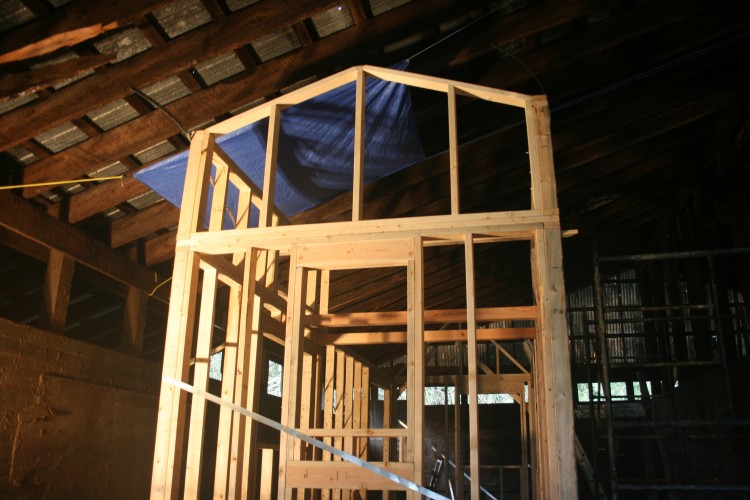
The end loft wall up
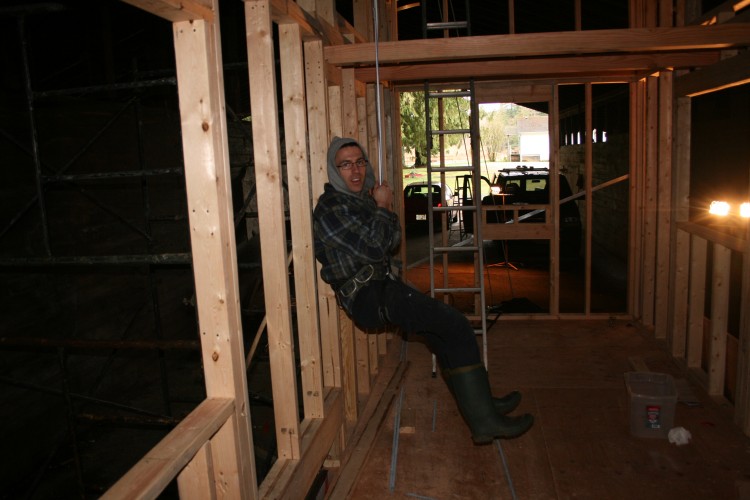
Richard testing the safety rope. He didn’t die

A 22′ piece of wood? No problem
Day 27, 28, 29
So… angles. After such a productive day with Richard, my voyage into the world of angles that will be the roof didn’t have the best of starts. It took me a few attempts to get the first rafter correct on the first day, and then a few more attempts the next day to get the second rafter correct (the roof has two pitches, and therefore two different shaped rafters… and therefore different angles). Things went a bit better on day three and things started to measure up a little, but as I had been finding this process a little frustrating I realised that perhaps I was getting burnt out by the project. I have been working really hard at it for over a month now, which I knew wasn’t going to be sustainable. I know I need to learn when to take a step back from things and this seems like a good time. I’m going to force myself to take things a little easier.Day 30
Coming back for a half day I cut the LVL bean down to length. The only beam I could get my hands on was far too big for the house, so I used my skill saw to cut it down not once, but twice to accommodate the different roof pitches. You wouldn’t do this in a ‘normal’ house, but every inch counts here.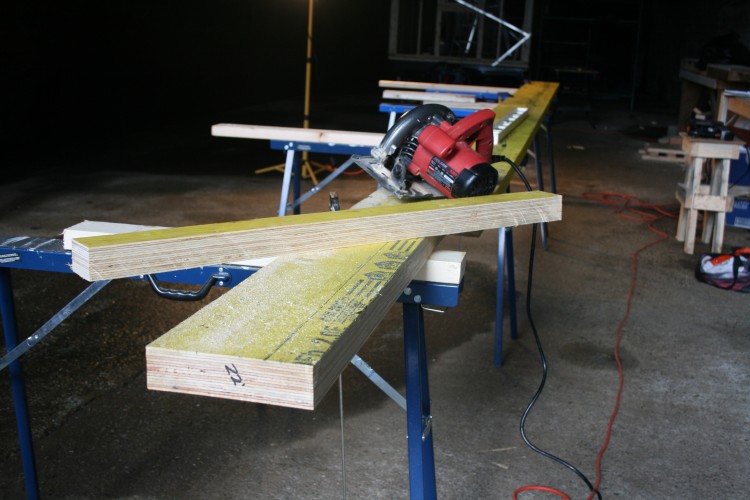
I made a test cut before doing it for real
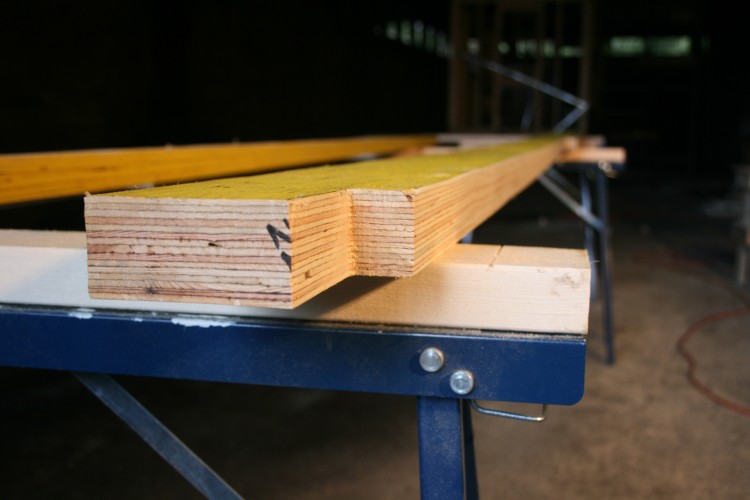
The LVL cut to size
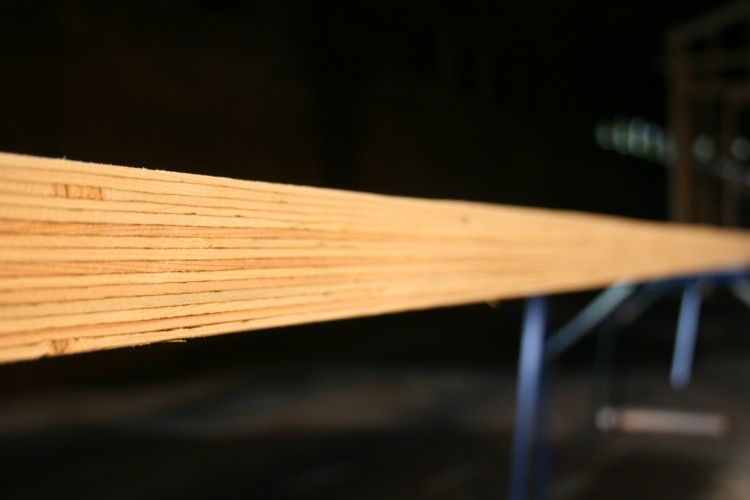
The LVL ‘grain’ once sanded
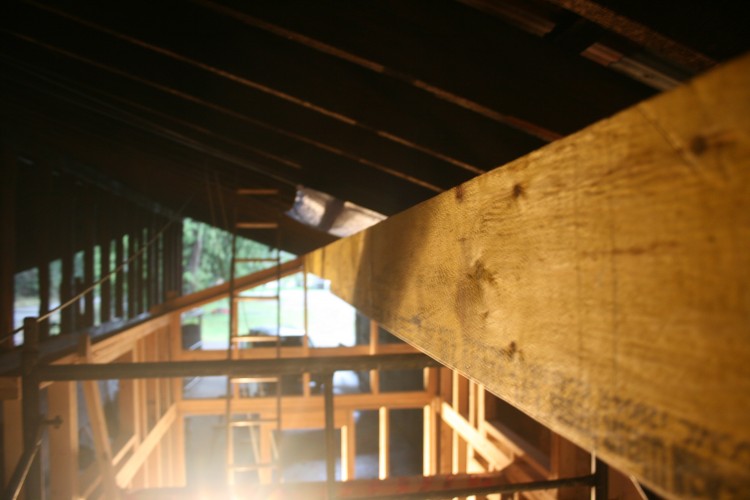
The beam in place
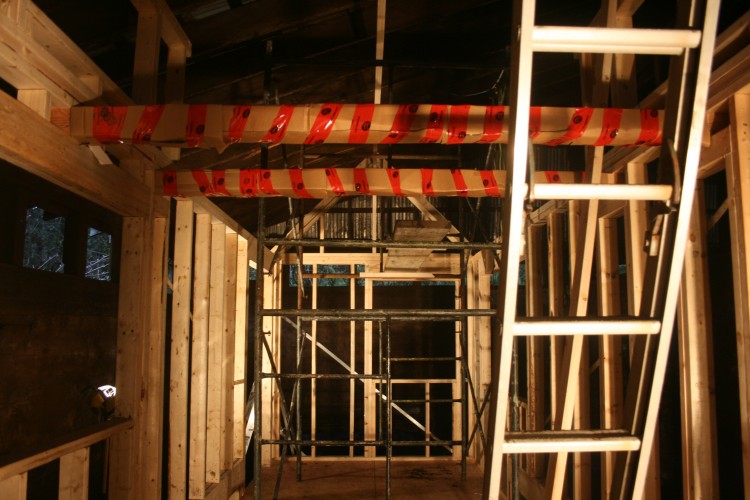
It’s starting to get a bit busy in here.
There where some tough days this week, but all-in-all things are coming together very nicely. Richard was a huge help this week, so thanks a lot buddy. I have lots of rafters to build now, which will be my first job for next week. Hopefully I have ironed out most of the kinks and will be coming at it a little refreshed after a couple of days off.

You weren’t struggling with trigonometry were you Joe? After all those maths lessons where you nearly broke my neck its coming along so well now, cant wait for a holiday out to see your housey, we totally understand the pain of it all frying your brain xx
So glad to see you got the beam cut down without too much difficulty 🙂 it looks great!
That all sounds very nerve-wracking! What a boon is a good friend like your Richard. love, Grandma’