Tiny House Construction – Week 3
Posted on 14/02/2016 under My Tiny House Project
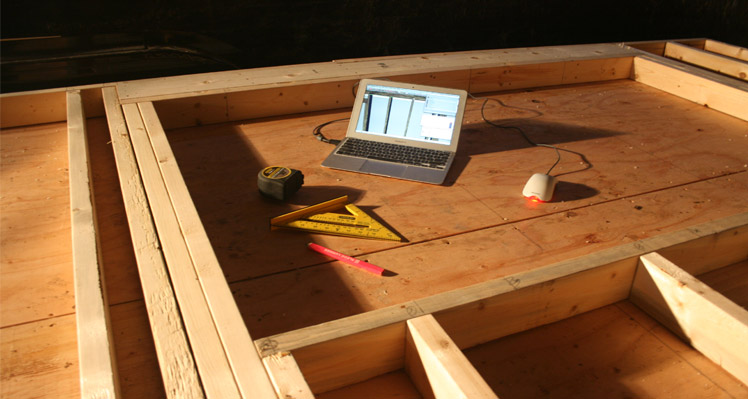
Build Day 10
Today I got to use my new framing nailer to build the first wall. It actually was a little harder than I expected! Being the first time I had framed, I was learning as I go (no change there then), I was also learning how to use a framing nailer. Throw in an uneven barn floor and the end result was a square wall, the correct dimensions, but not very pretty. A trick to checking if the wall is square I had learned is to measure corner to corner diagonally each way. Once the measurements were equal, the wall is square. I’m really glad I used this method, because the wall would have been anything but square without it! My nail placement also wasn’t the best, and on occasion I had metal sticking out where it shouldn’t. The rim shanked nails (which are designed grip the wood) are much harder to take out than put in!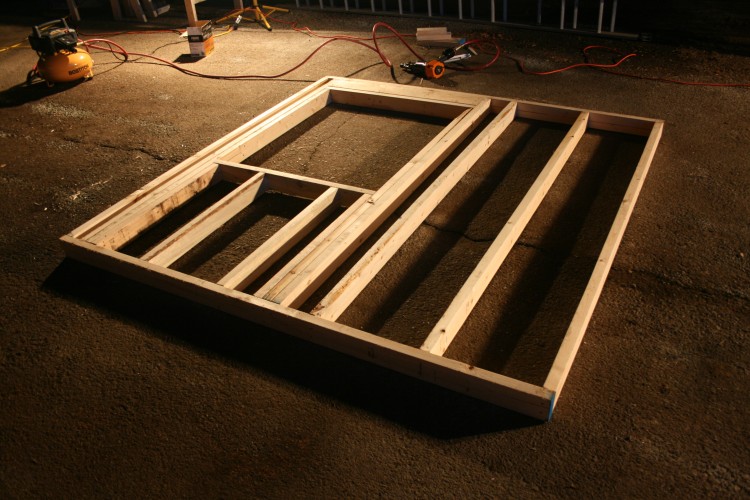
My first wall!
Build Day 11
Today I framed the other small wall. I still haven’t quite mastered the art of framing, but things went a little smoother this time around. I managed to cut all of the lumber to size and decided to lay it out on the trailer itself, as it is the most level surface in the barn. Nailing the wall together went well, except for a few more ill-placed nails which again had to be removed (with great difficulty).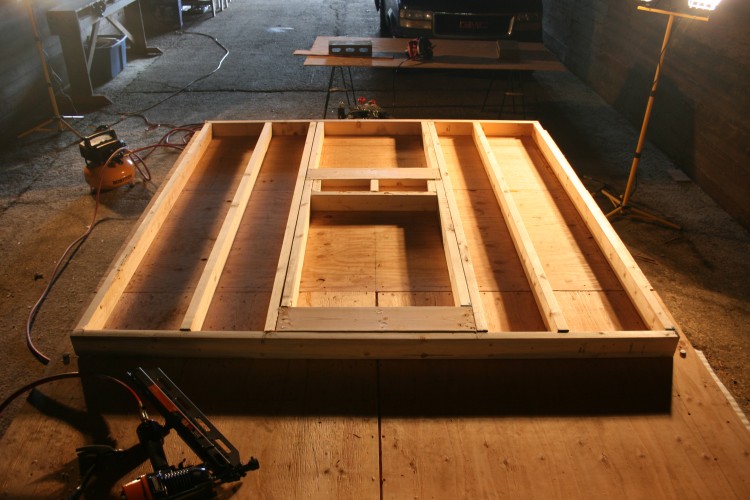
Framing the second wall on the trailer made life a little easier
Build Day 12
Today was the day to tackle the first big wall. This was going to be a different beast, so I had put quite a lot of thought into how I was going to do this. The process is complicated by an uneven barn floor, and the fact that it will quickly become too big to move by myself. As the barn leaks, this last fact was bugging me, as I don’t like the thought of leaving the wall out to get wet. Plenty to keep my brain ticking over.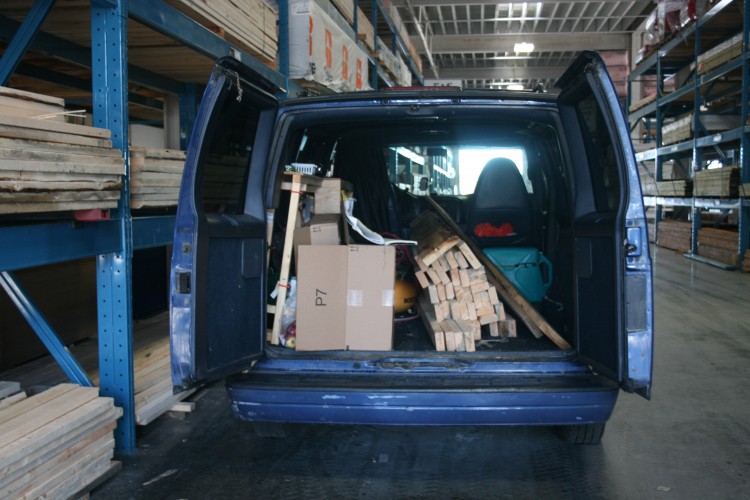
Loading the van up with the lumber for the first of two big walls
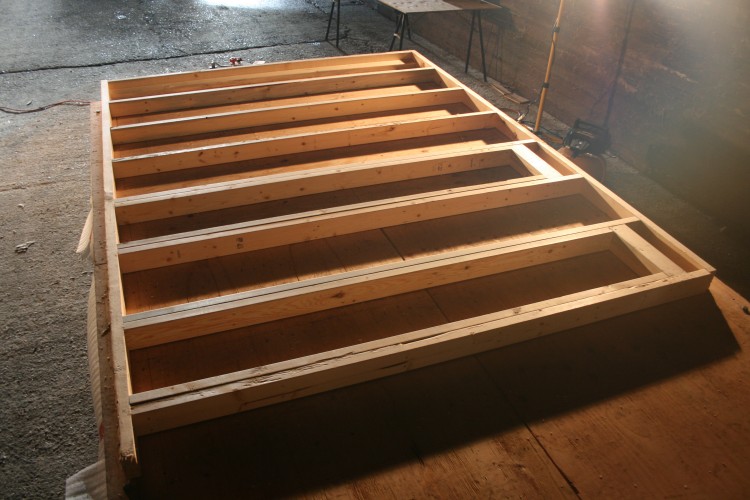
Getting the hang of things a little
Build Day 13
Using SketchUp to help me I realised that I could also build the second half of the wall on top of the trailer itself. Just. As I cut the wood and started laying it out the whole process turned into one big puzzle. Room was tight, so the order in which I nail things became very important, if I did something out of order then I might not have enough room to get the nailer in for the next piece.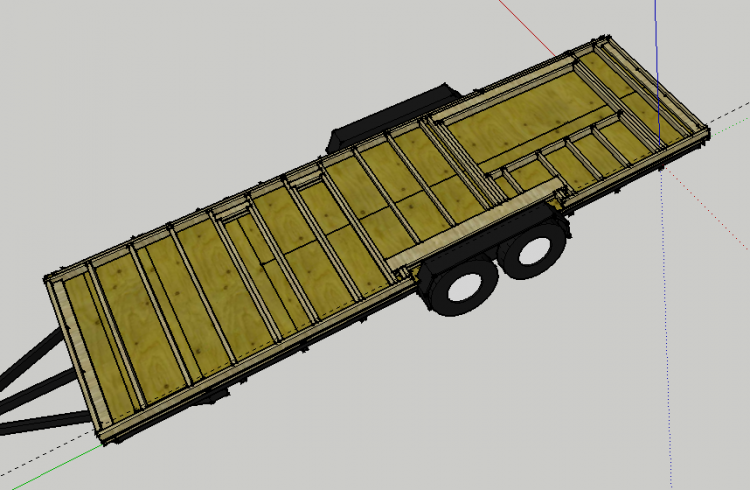
If SketchUp says it will fit, then it must be so
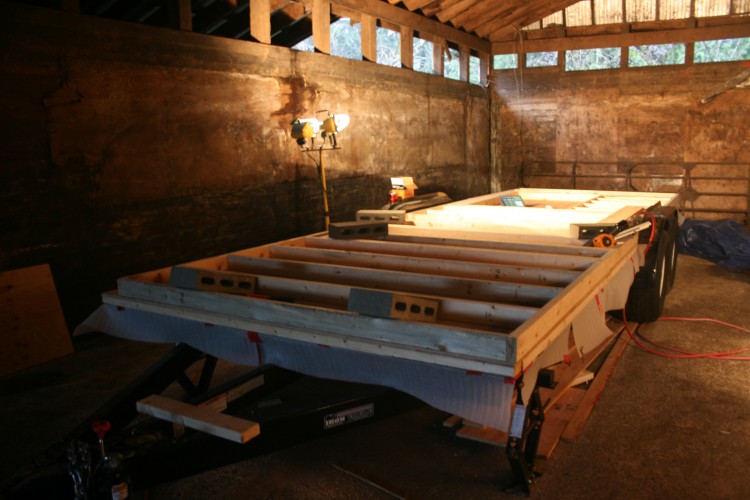
It fits! Hopefully getting this up and into place won’t be too difficult.
But that is for another day
Day 14
Today I spent a couple of hours finishing off the first big wall. Building it on the trailer was certainly a level surface, but it did make life harder in other aspects, as the fenders meant I wasn’t able to access some areas with the framing nailer. The wall turned out pretty well, just a few things here and there that I will do differently on the next one. I must admit I found it a little frustrating not being able to move the wall anymore, as it means there is no chance of undoing a mistake. There is no ‘undo’ button in real life, another way this project differs from my computer work.All in all it has been a hard, but good week. We have some friends visiting next week so I am aiming to finish the last wall and raise them while they are around. One more to go.

Deeply impressed by your ambition and execution here, Joe. I am currently converting a 5mx 2.5m railway goods carriage to office type accommodation. Have got the electricity and water to it. I feel that I have got it easy as it starts with a building with a metal frame, new galvanised corrugated iron roof and 20mm ply walls. Having said that it is at least 30-40 years old so needed a lot of repairs before I got started. Have laid rafters on the old floor for anew ply one and will be putting in an internal ply wall with 25mm insulation between this and the old one (and a damp proof membrane). I know that’s not a lot of insulation but I don’t want to lost more internal room.
Thanks Charles, yes I am having lots of fun with the house. That sounds like a very interesting project. Do you have any photos I could see? I’m glad I’m not the only one trying to hold on to as much internal room as possible!
Joe
You are doing a great job Joe,really proud of you Love mum xxx.
I hope this message gets through Joe. I do admire your courage in taking on such a huge task on your own. Hope it stops raining soon. love, Grandma
I must say this log is fascinating reading for your dear old Pop.
You are having to learn the tools of the 3D design trade – and, as you have discovered, there is no better way than knowing that you are the mug who will actually be doing the building!
You’re doing brilliantly.
MOG
Thanks Dad, yes it is coming along quite well. I am definitely learning!
Joe