Watch a time lapse to see what I have been up to:
The final push! Shingling the end walls of the loft made my head hurt to think about. With a 12:12 pitch below and a 4:12 pitch above, I not only needed to shingle straight in this very awkward, tight space but I also wanted to make the shingles line up with the shingles on the wall below.
Instead of thinking too hard I decided to just go with it and rely on my newly acquired shingling experience to back me up. This tactic worked surprisingly well and I was happy with the outcome.
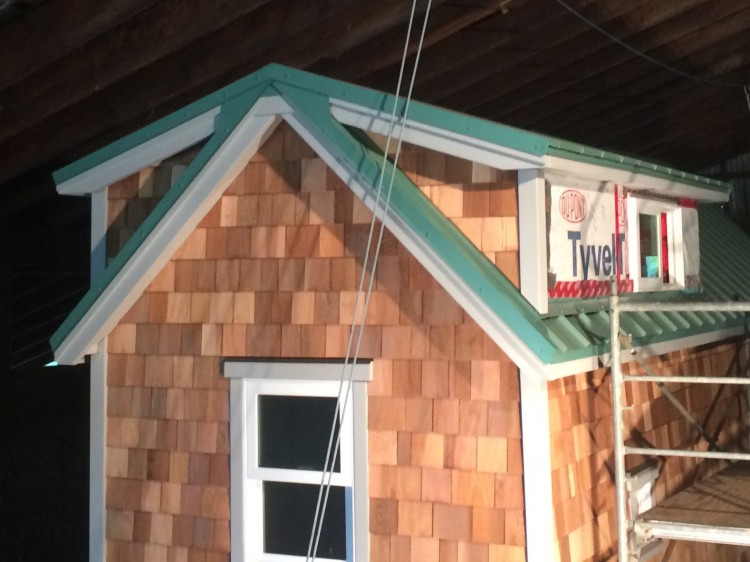
Some tricky shingling!

It’s looking pretty finished (from this angle)
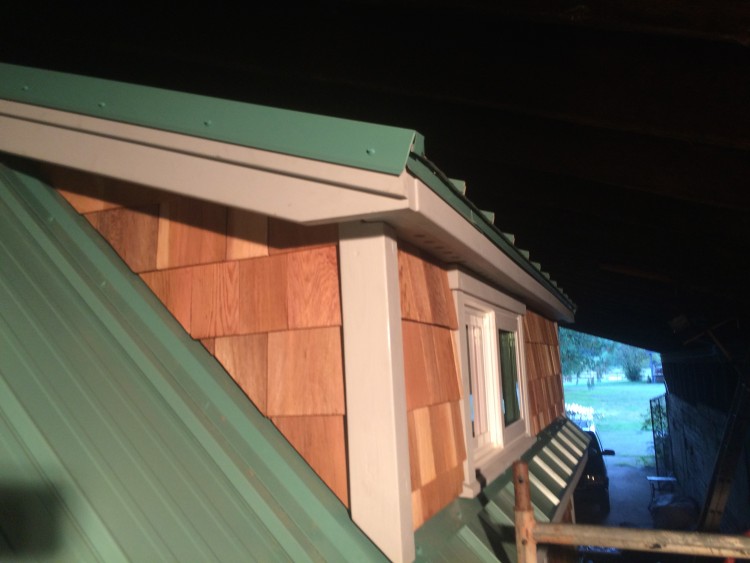
Shingling complete!
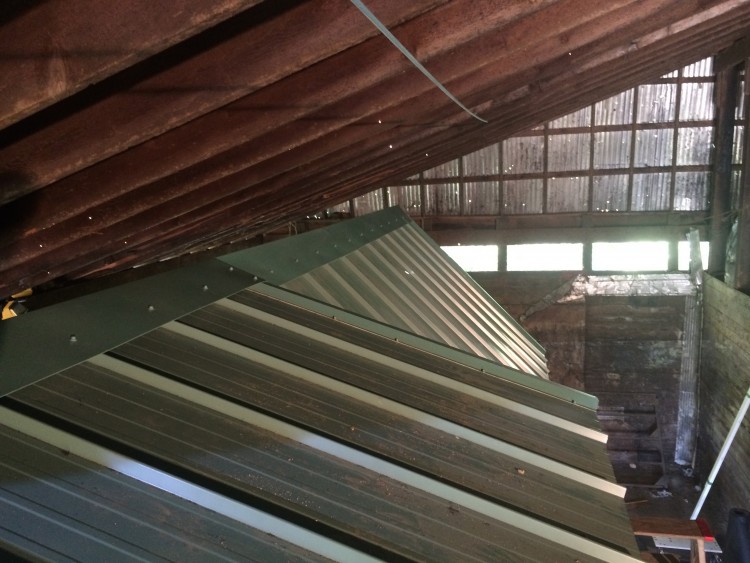
The ridge cap in place
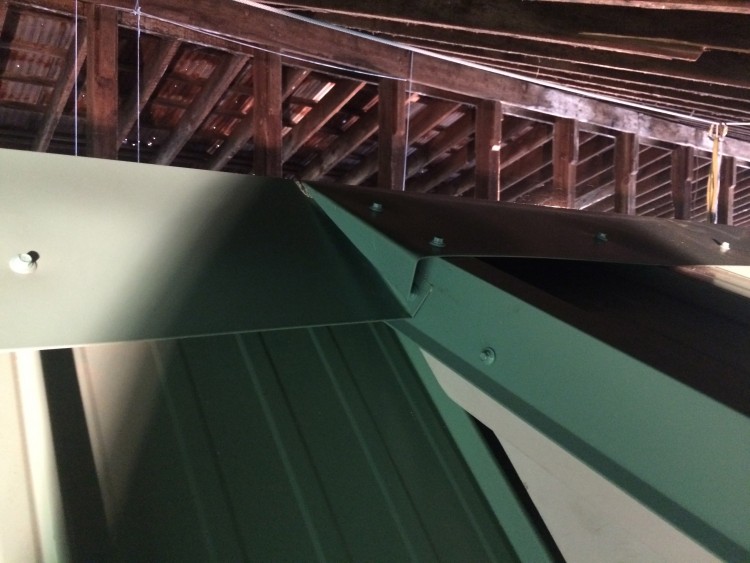
Ridge cap join
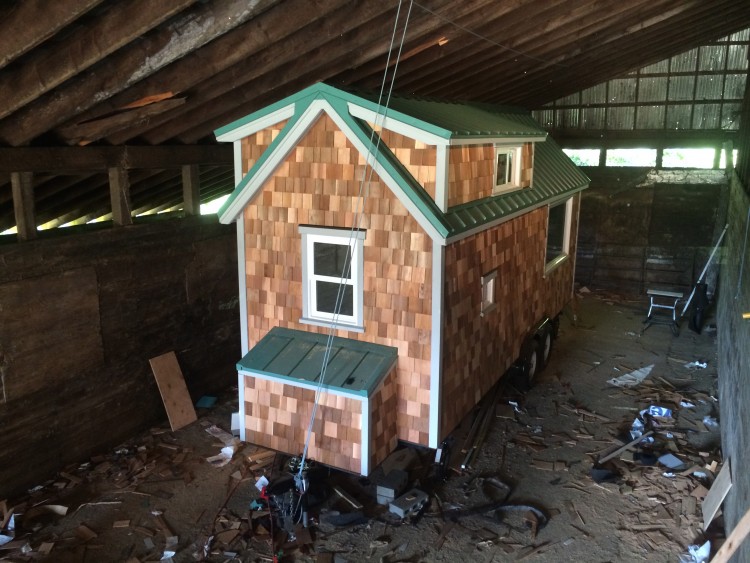
Done!
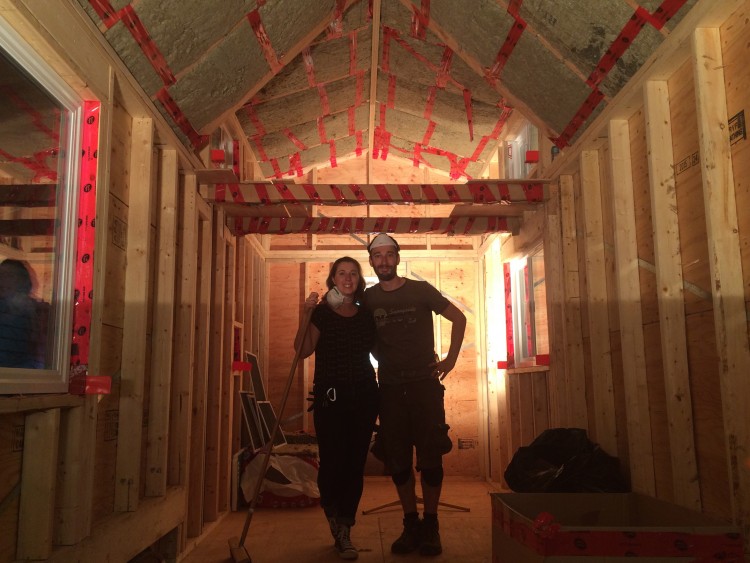
Cleaning out the house, not for the last time
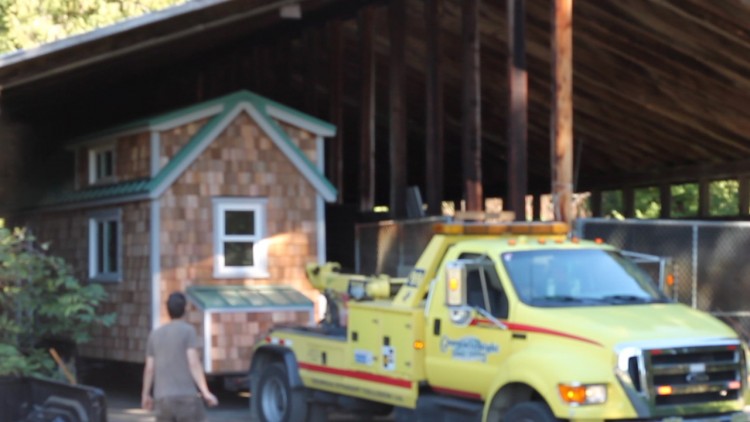
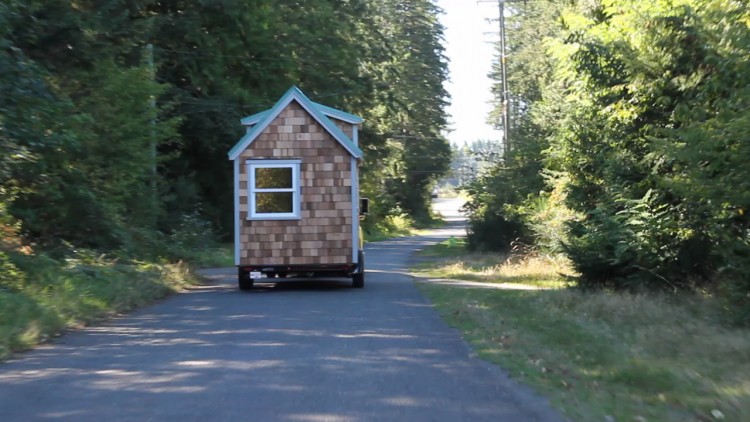
The house leaving the barn
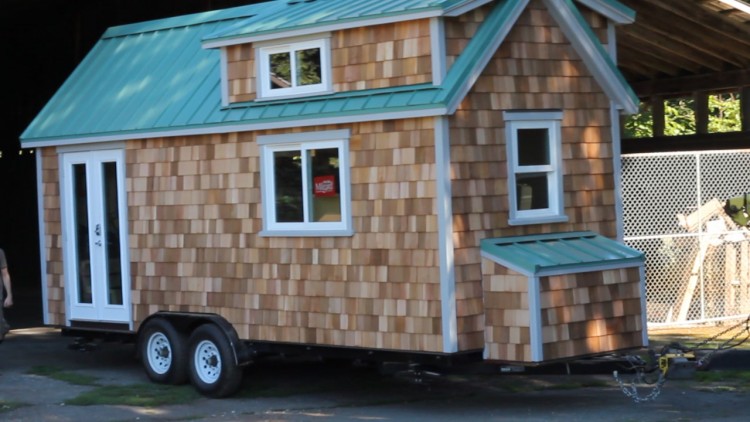
Outside for the first time
 En-route we made a stop at the local gravel pit to weigh the house on their giant scales. I had arranged this because knowing the weight of the house at this stage was important for planning the interior. The trailer is rated to take a load of 14,400lb and I now know the house weighs approximately 6,500lb. This means I have plenty of weight allowance left to complete the interior. I may skip the marble counter tops though.
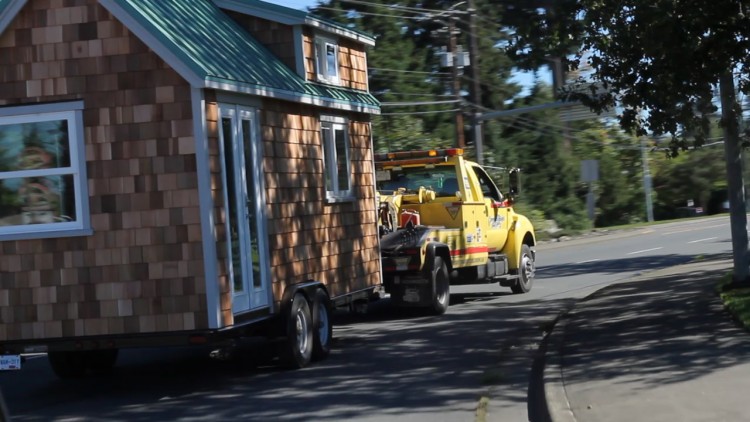 We got to the storage facility without any problems (I wasn’t worried… honest!)
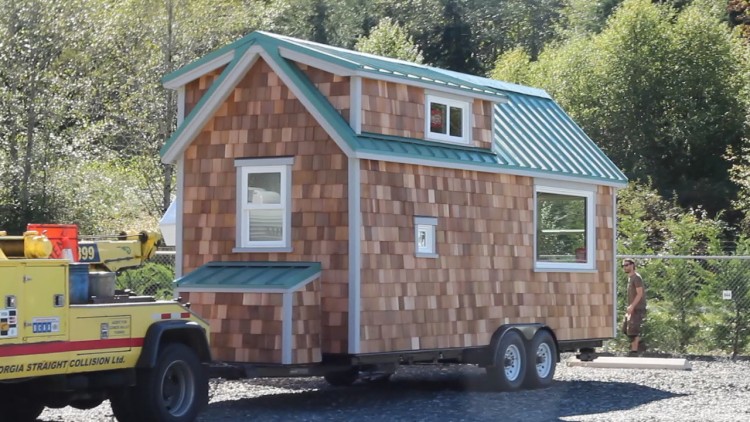
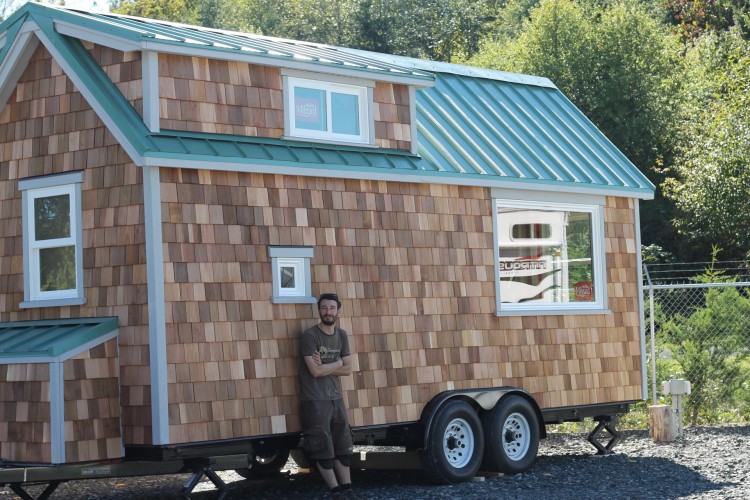
The house has a new home



 En-route we made a stop at the local gravel pit to weigh the house on their giant scales. I had arranged this because knowing the weight of the house at this stage was important for planning the interior. The trailer is rated to take a load of 14,400lb and I now know the house weighs approximately 6,500lb. This means I have plenty of weight allowance left to complete the interior. I may skip the marble counter tops though.
 We got to the storage facility without any problems (I wasn’t worried… honest!)


A fantastic achievement. Hope you enjoy your well-earned- break. love, Grandma
I think Mum and Ruth have said it all.
BEAUTIFUL and WELL DONE!!
MOG
It’s soooo beautiful Joe and Carly!! I am so proud of you guys. Joe… you are amazing! I love how hard you worked and studied and pondered and ended up with an amazing tiny house!! You definitely deserve a break and a nice holiday!
Love you both and your beautiful house!
xoxo
Thanks Ruth! 🙂
Beautiful house ,Beautiful home ,BEAUTIFUL YOU.!!!!!!!
Well done..love mum xxxxxxxxxxxxxxxxxx
Thanks mum! It feels great to have gotten to this milestone 🙂