With the bed and storage complete I could now move on to all of the smaller jobs required to make the van habitable. You can read part one of the conversion here.
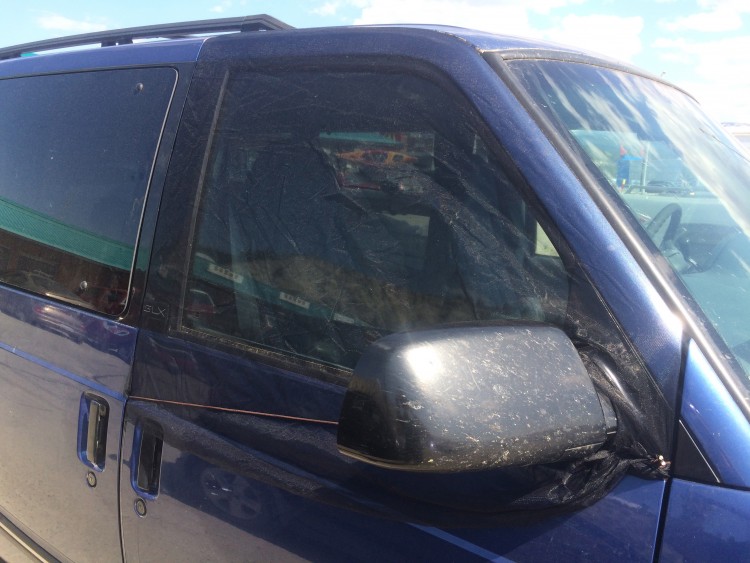
First up was cutting the insulation to size so it could be pushed into the windows to make blinds. This worked well in the last conversion so I decided to stick with the same technique.
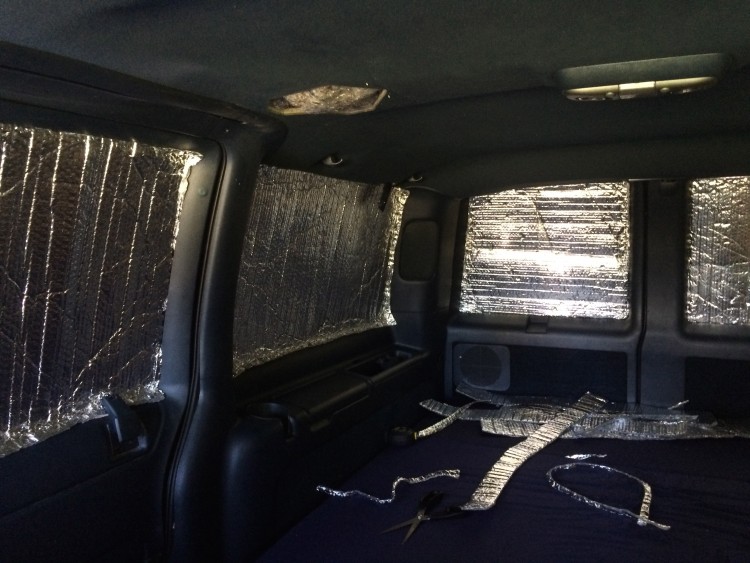
Window blinds made from insulation
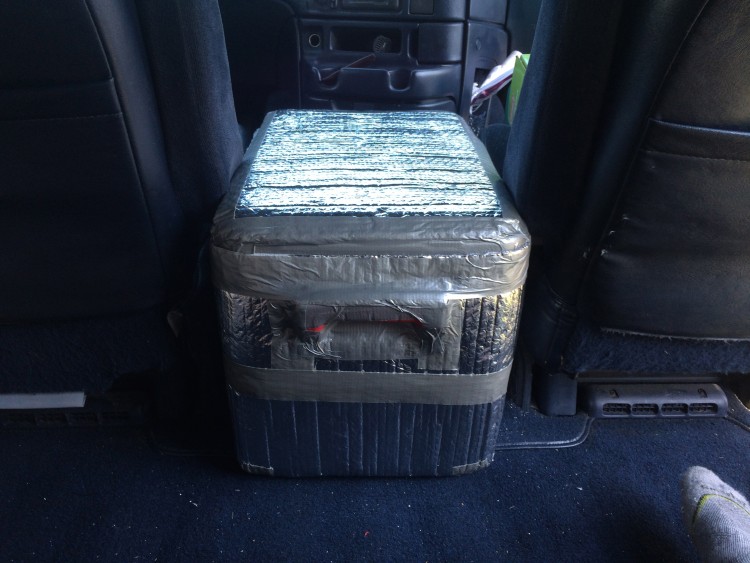
Left over insulation put to good use
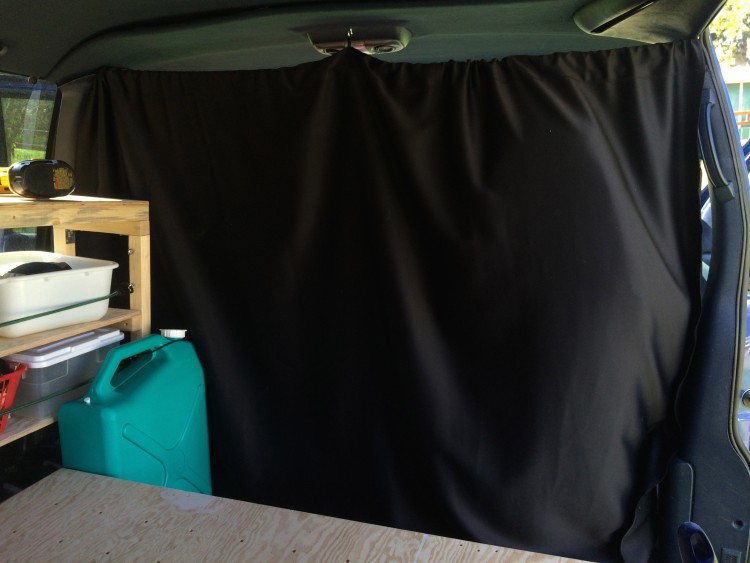
Curtain made from black out material
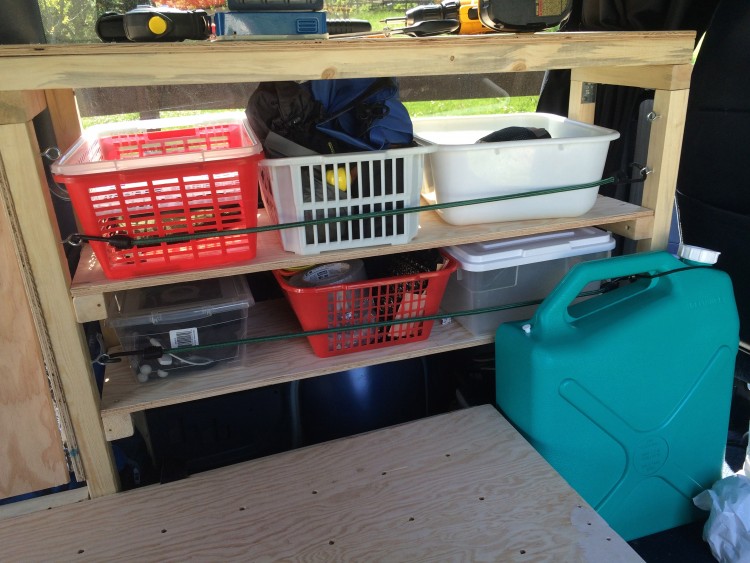
Containers kept in place on shelf using bungie cords

Storage behind sofa
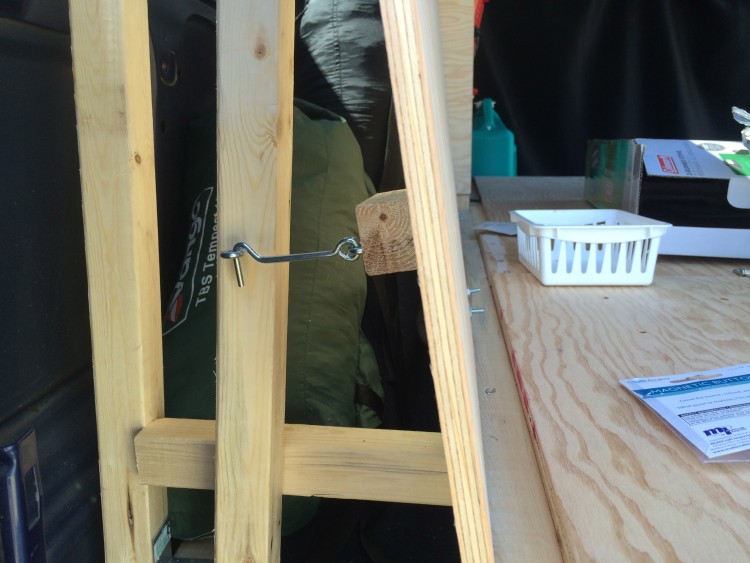
Latch to keep sofa back in place
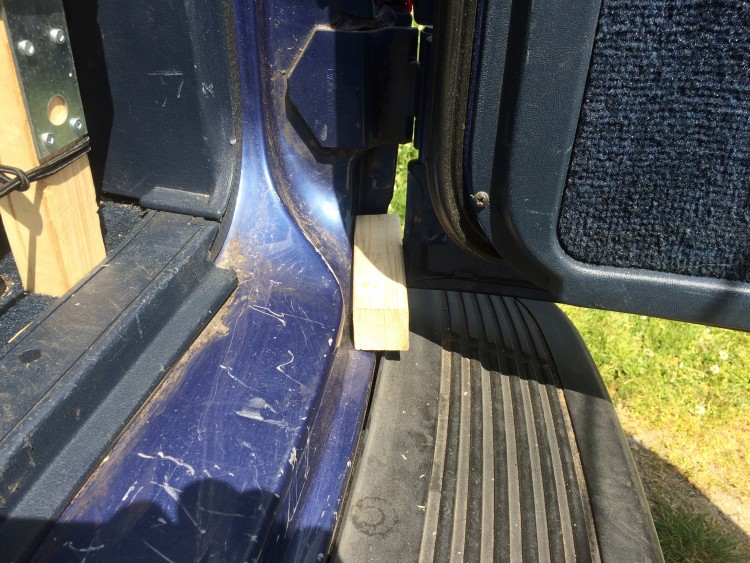
Wooden wedge to stop doors from closing
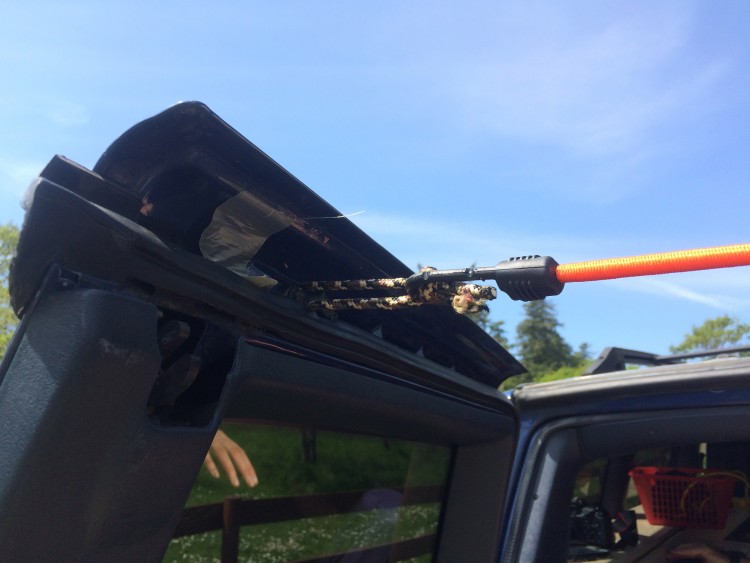
Attaching a bungie cord to rear doors
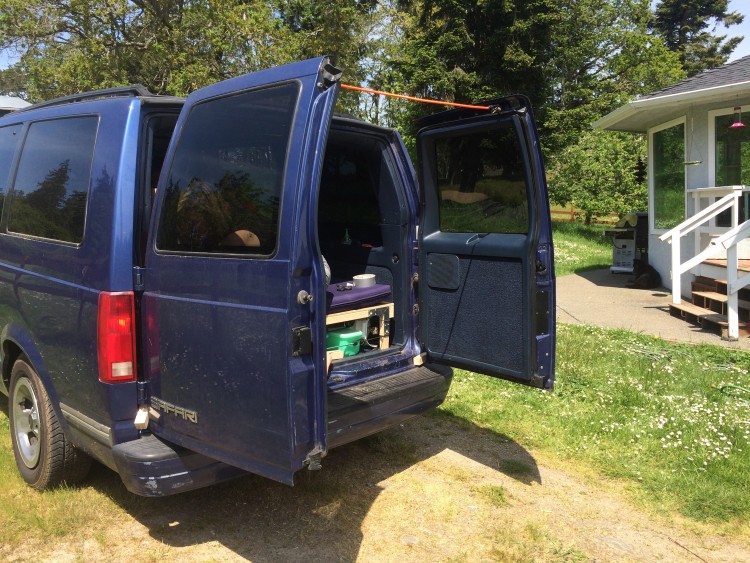
Rear doors held open using wedges and a bungie
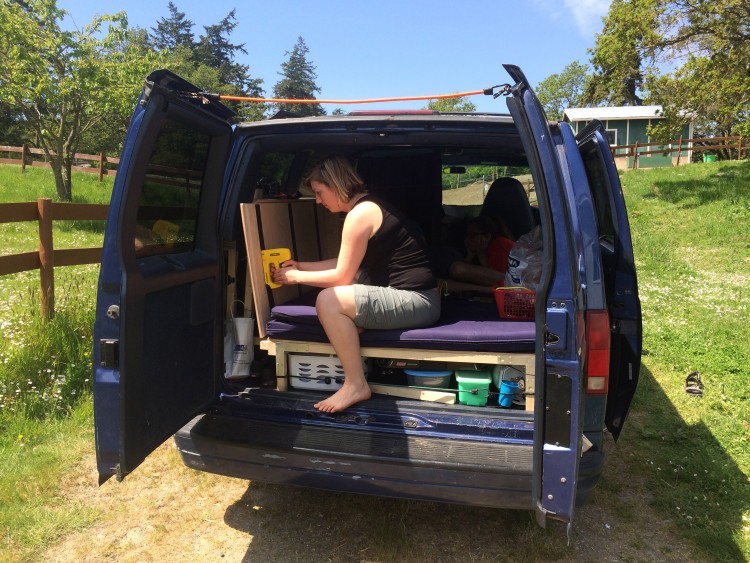
Getting some help with the finishing touches
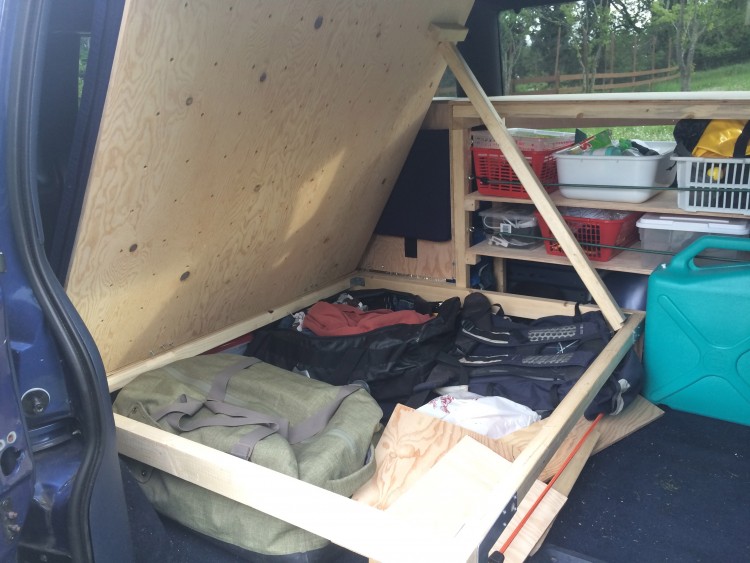
Bed hinged to allow access to storage
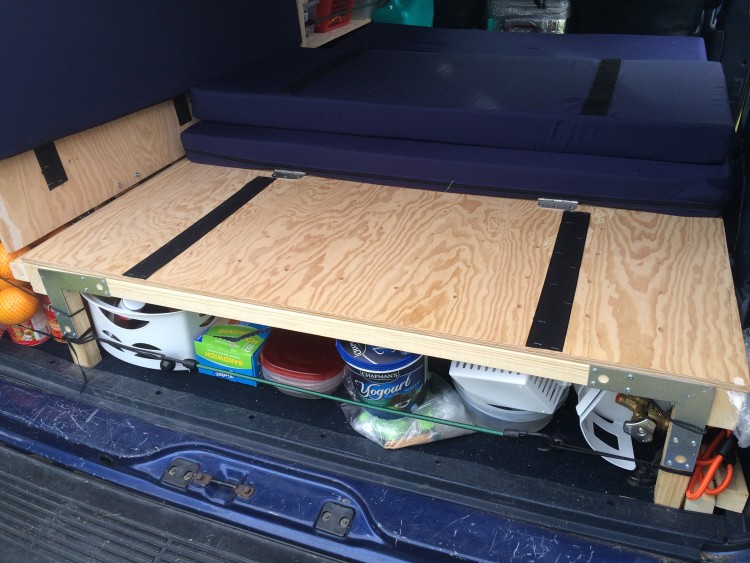
Foam section removed to reveal kitchen work top
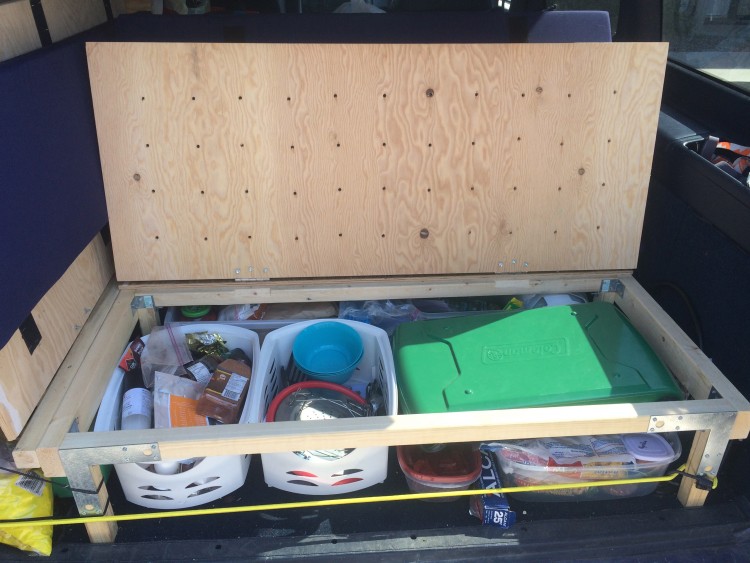
Kitchen storage area
Mosquito proof window for ventilation
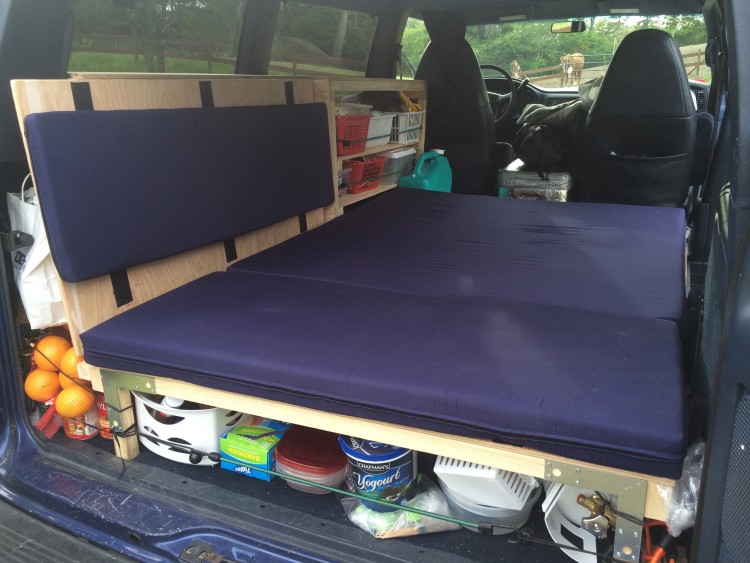
The bed and sofa with foam added

Getting the seal of approval
I am very excited about taking the van out on it’s first road trip when we drive it up to Whitehorse from Victoria.
With two people being in this space, keeping things organised is going to be very important. The first trip should be a good opportunity to start figuring out the best place to put things and identify things that need to be tweaked.
Thanks to everyone who helped out by offering your labour, suggestions and donations. I really appreciate them all.

Hi Joe,
I’m about to start off my own safari conversion for a 3 month road trip with my gf. I’m just wondering if you have any advice looking back? Your set-up looks great but I’m just a little concerned about space. How did it work out in the end?
Hi Joe. Great blog. You mentioned somewhere that bed height should be no more than 30cm. Does this include the cushions? How thick are your cushions and how comfortable do you find them?
Thanks!
Hi Elizabeth,
Yes I planned the bed height to allow me to sit up in the van without hitting the roof, so this will vary for different sized people and vans. In the end the wooden bed frame was 32cm, plus 3 inch high density foam. We find the foam to be really comfortable, as comfortable as any mattress we have slept on. I recommend trying out some at a foam company or upholster before buying, as different thicknesses and densities are available. Good luck!
Joe
Hey, this looks really cool! We just converted our Astro van but did it in a much more amateurish way as we are just tourists with no tools and no home improvement skills 😉
So, we are always keen to know how other people solved all those tiny little problems and I’m impressed 🙂
How exactly did you put the mosquito net to the window? Is it permanently fixed?
Kind regards, Anya
Hi Anya,
Thanks! The mosquito net is remove able. There is some velcro stuck inside the door which hooks on to the netting while it is being attached. When the door is close the netting then gets trapped in the door, which holds it in place more firmly. The elastic is needed to keep the netting tight under the window because the netting wasn’t big enough to cover the whole door.
It’s not great, but it has done the job so far.
Joe
Hello Joe, I’m about to buy an Astro in Québec, and your conversion is (by far) the one I prefer, after having looked for many many many exemples. I think I’ll use some of your ideas for my own conversion, if you don’t mind ? I might start to work on it very soon.
Lots of thanks for the several illustrations and explanations, I found them very helpful. Enjoy your trip ! 🙂
You’re welcome Céline, feel free to come back and share how your project goes.
It’s done !
http://atroispieds.net/amenagement-du-van/
Sorry, everything is written in french, except one line just for you. 😉
Thanks for coming back and sharing Céline, it looks great.
It looks flippin awesome. I must say we are very jelous. Have a wonderful first trip out. Xxx
Fantastic! Will you
have heat-resistant cover for the cooking bench? Like formica or something. You will have to be very well-organ ised all the time, won’t you. love, Grandma.
Wot?…no TV or satelite dish!!
The only problem I see is remembering to take everything out that you need before going to bed.
How about some hammock-like storage slings for nightime essentials?
Aww… home sweet home. Hope you guys enjoy it. Good luck on your maiden voyage.